

Welcome back to this week’s edition of the Power BI
blog series. This week, we look at static row-level security (RLS) in
Power BI Desktop.
One of the
key features that distinguishes Power BI from other Business Intelligence (BI) solutions
is its ability to provide row-level security (RLS), which is protection based upon
each row of a data table. Instead of
creating a report for each of the access profiles, you can create a single
report linked to different access profiles.
Essentially, you may specify rules (e.g. Country = “Australia”)
that filter the data that a user can see within their reports. For instance, a General Manager may access data
that is available within their division only, whereas a CEO may have
unrestricted access to the entire dataset.
Power BI
essentially displays the same report to all users but restricts the data flow
through to the report based on the security settings.
You should
note that RLS may be set up for data models imported into Power BI using Power
BI Desktop. RLS may also be configured
on Direct Query datasets such as SQL Server.
Defining
Roles and Rules in Power BI Desktop – Static
In this
example, we will set up a security option that would restrict a Manager in
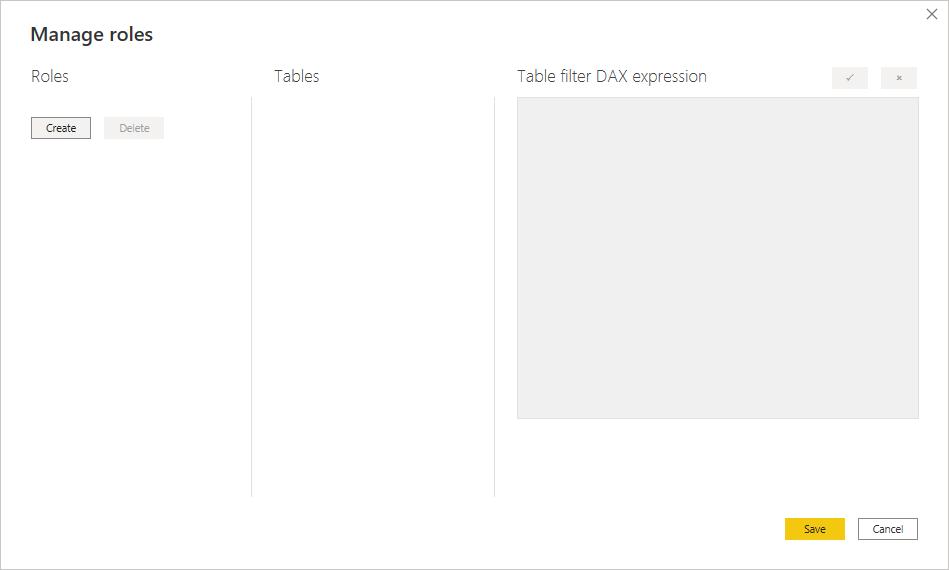
Australia to only be able to view data from Australia. First, we must define the security role. To do this, we need to go to the Modeling (sic)tab, and in the Security group, click on ‘Manage roles’.

This will bring up a dialog, which will
allow us to create and define roles within our dataset. Let’s create a new role and name it ‘Australian
Managers’. We begin by clicking the
Create button.
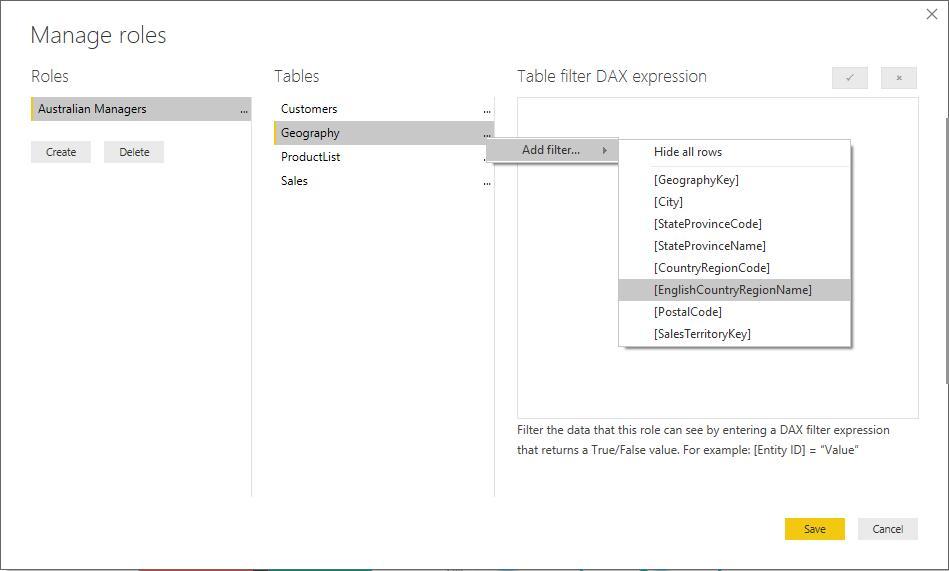
Once we have entered a name for the role
under Roles, we can begin adding filters.
In the second column, Tables, click the ellipsis (‘…’) next to Geography,
mouse over ‘Add Filter…’ and then select [EnglishCountry]. The ‘Table filter DAX expression’ is
presented on the right-hand side, which allows us to create a DAX expression
that must evaluate to ‘True’ before the data can be accessed by this role.
[EnglishCountryRegionName]
= “Australia”
When you have finished creating the role, click the checkbox above the
expression box to validate it.
Afterwards, press the Save button and the filter(s) created will be applied to the specific
role(s).
Validating Roles within Power BI Desktop – Static
With our
new role created, we can check that everything has worked as intended and that the
members of the role see the correct data.
On the Modeling tab, clicking ‘View as’, which opens a pop-up window where
you can see the roles you have created. Within this window, you may tick a role to
preview what that role would see.

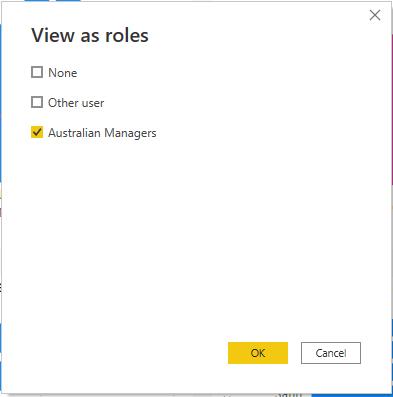
The ‘Other
user’ option in Power BI Desktop will only display a different view if you’ve
employed dynamic security.
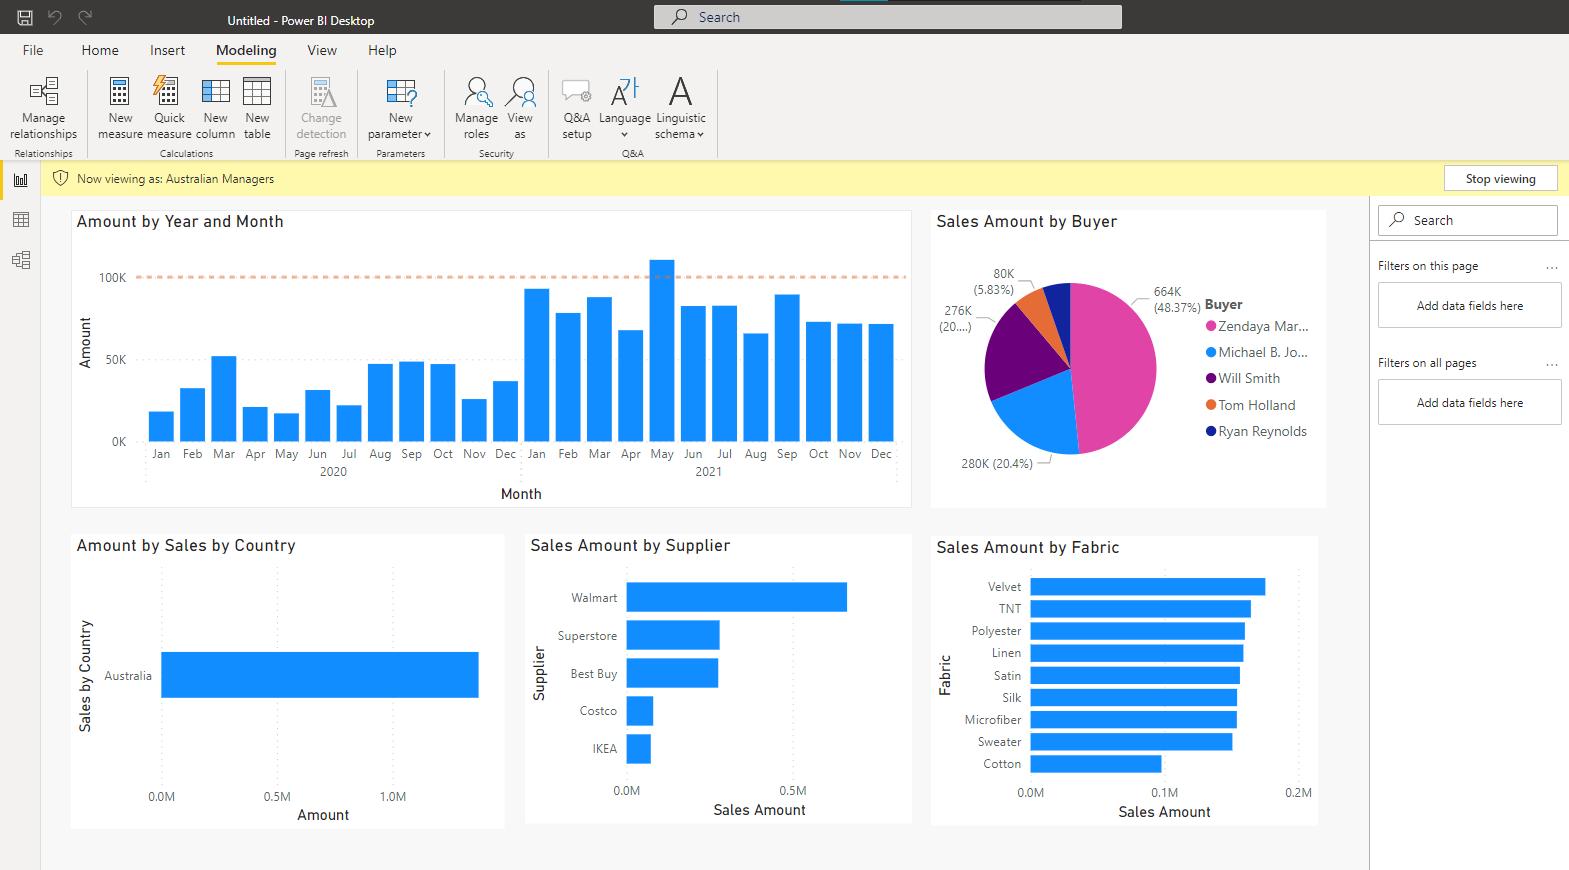
With the
‘Australian Managers’ role applied, the entire report is filtered to only
display data for Australia. A yellow bar
will be displayed at the top of the report, informing the user that the report
is being viewed as ‘Australian Managers’.
To stop viewing this filter, click on the ‘Stop viewing’ button on the
top right-hand side and it will return to the full view.
It should
be emphasised that this functionality only applies to the Power BI online
services, i.e. once data has been published and distributed online then row-level
security may be employed.
There is no
security in the PBIX file; you can see the entire dataset. There is no way that you may have any
security with Power BI Desktop files and roles may only be created or modified
inside Power BI Desktop.
Next time, we will
continue by looking at static security through RLS in Power BI Service.
Check back next week for more Power BI tips
and tricks!
Be the first to comment