

Welcome back to
this week’s edition of the Power BI blog series. This week, we review the Page Navigator
visual.
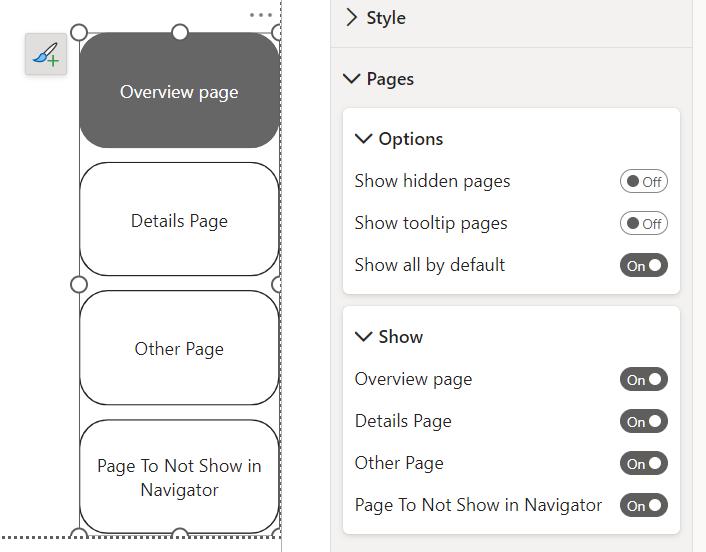
You can now readily
decide which report pages are visible within the Page navigator visual, should
you wish to add it. If you want to
exclude specific pages, all you need to do is expand the Show card in the Pages
section of the Formatting pane. Here,
you’ll see the list of pages that are not already hidden through the ‘Show
hidden pages’ or ‘Show tooltip pages’ options.
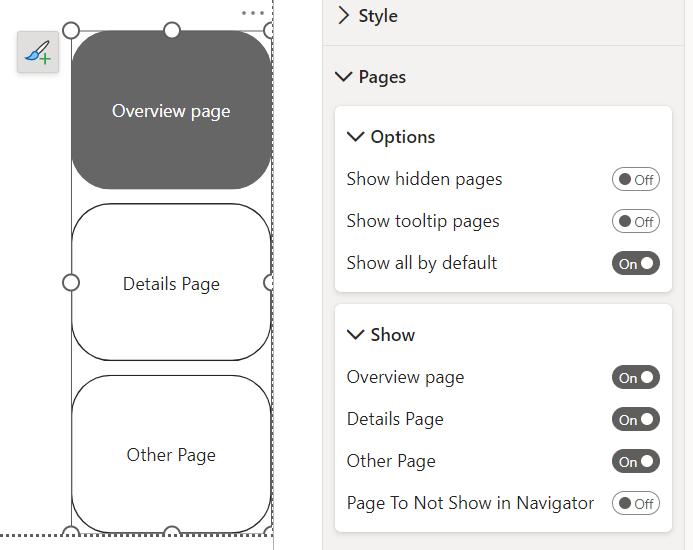
All you need to do
to hide specific pages is turn the toggle for that page to Off.
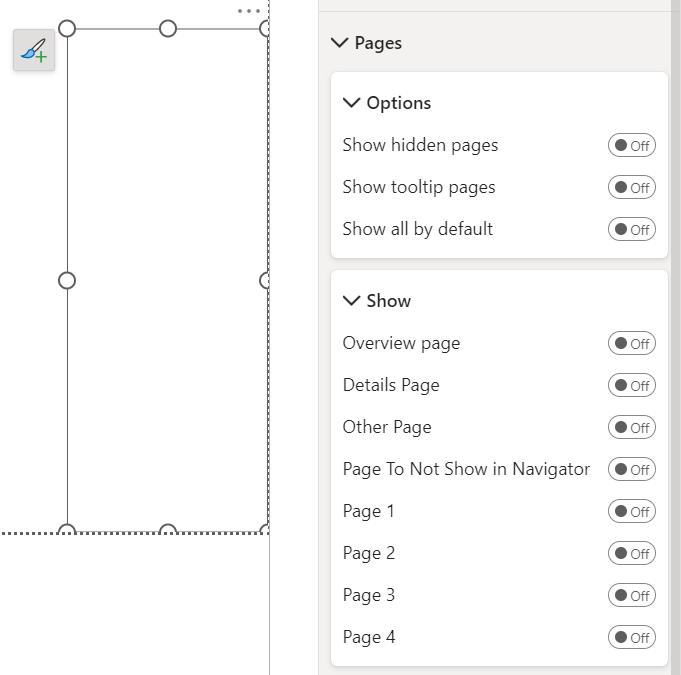
If you have many
pages in your report that you want to hide within the Page navigator visual, it
can be faster to instead just specify which ones you specifically want to show.
To do this, turn the ‘Show all by
default’ toggle to Off in the Options card, which will immediately turn all
pages within the Show card to Off.
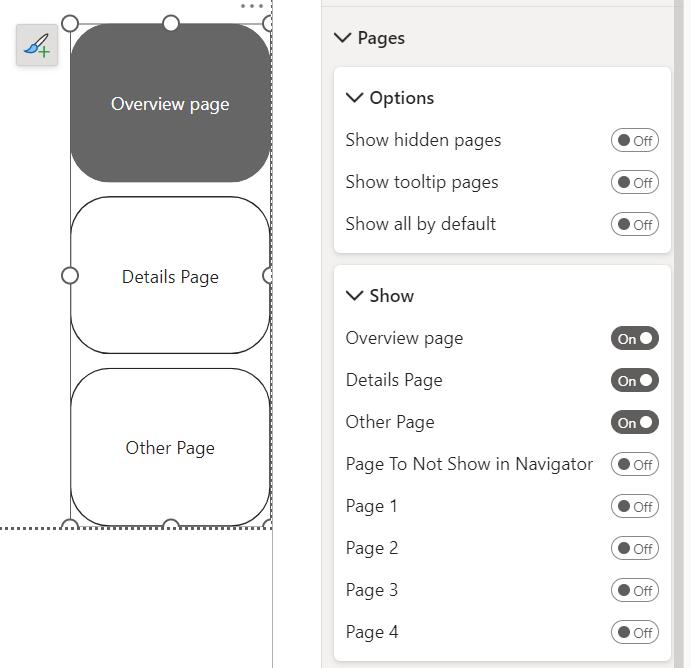
From there, you can
then go in and just turn back on the specific pages you want visible.
Be the first to comment