

In this blog, we’ll create and analyze an MS Flow that doesn’t originate from SharePoint. We’ll use this flow to upload files in SharePoint by sending them through email.

Overview
In this sample Power Automate flow, we need to set up a mailbox where people can submit expense reports, accounting reports, and other files. Those files will be sent to this mailbox, where SharePoint should take and add them to a document library within SharePoint.
Instead of a user going to a document library within SharePoint and adding files there, they email the file to an email address with the subject line being the name of the file. After that, it should automatically be added to the document library.
By learning this, you can have a system where you can send your photos to your central mailbox, and it will add those photos to your central photo library that’s always backed up.
Creating A New Document Library For The MS Flow
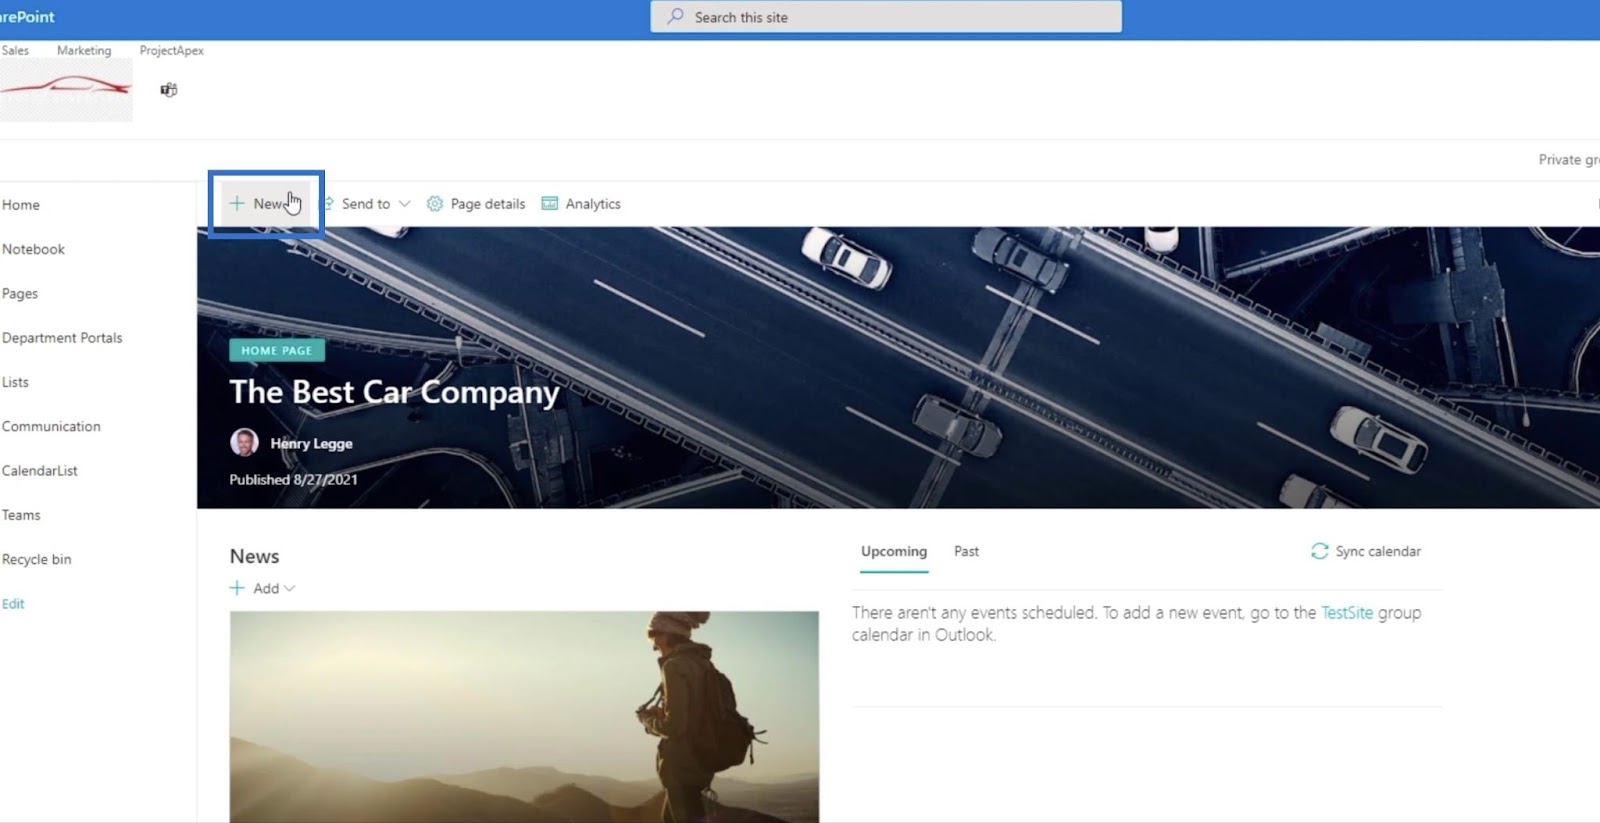
First, we’ll create a new document library by clicking New.
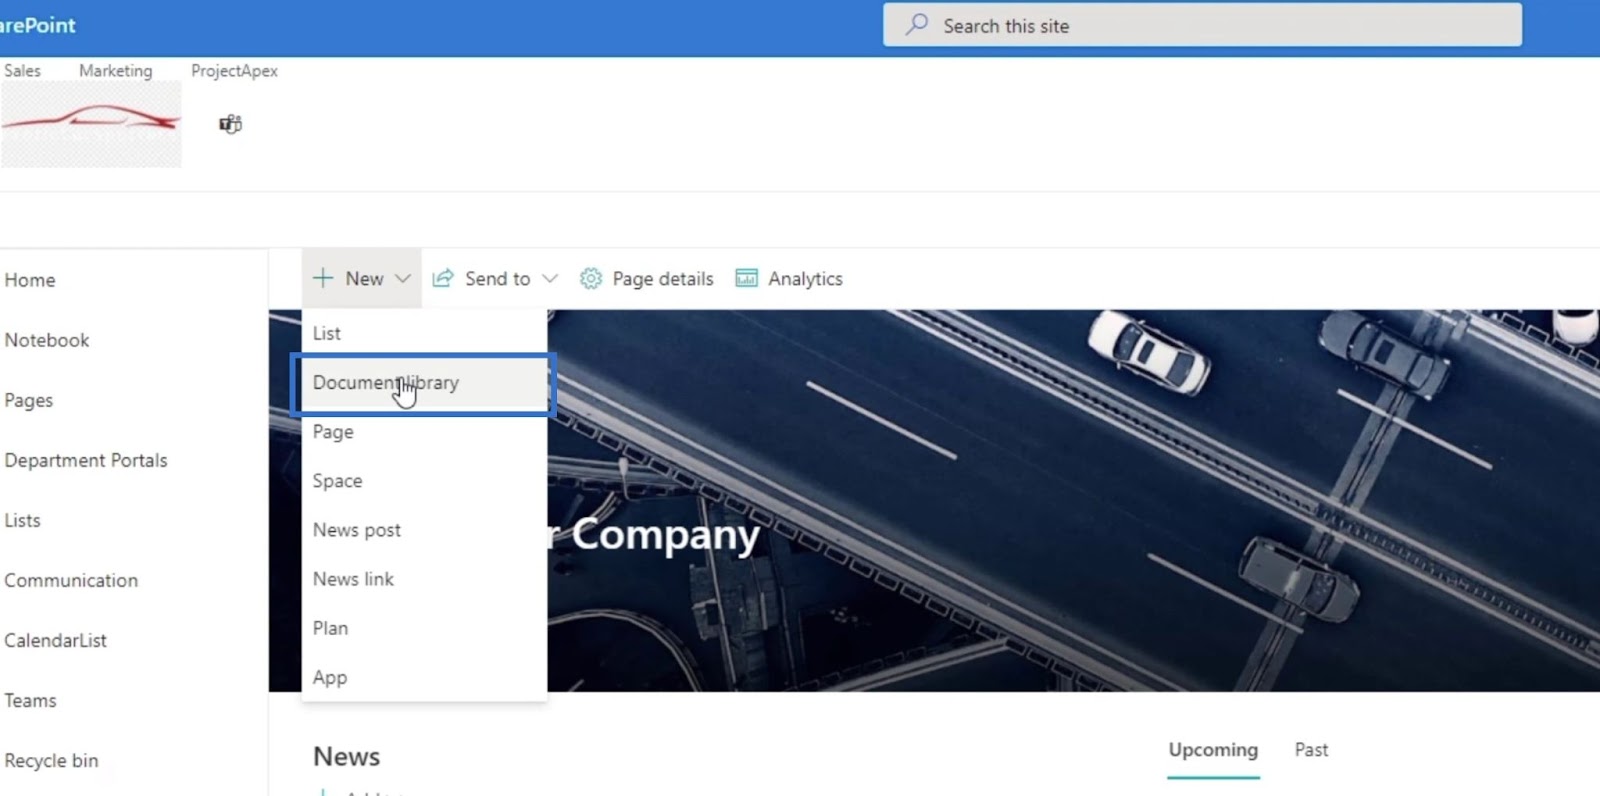
Next, click Document Library.
Then, it’ll display the Create document library panel.
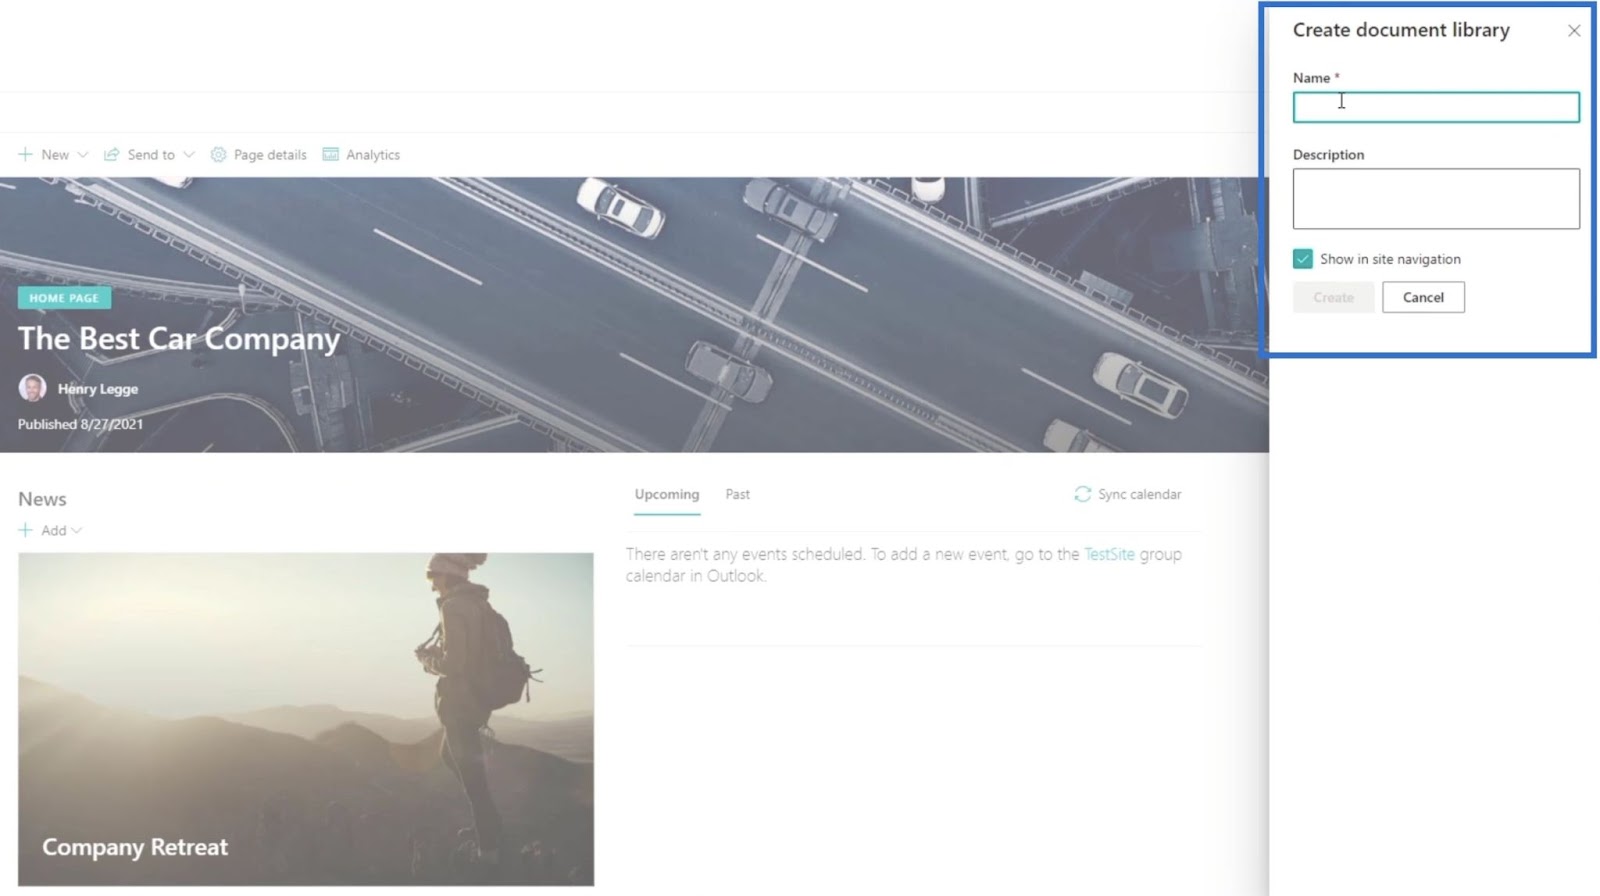
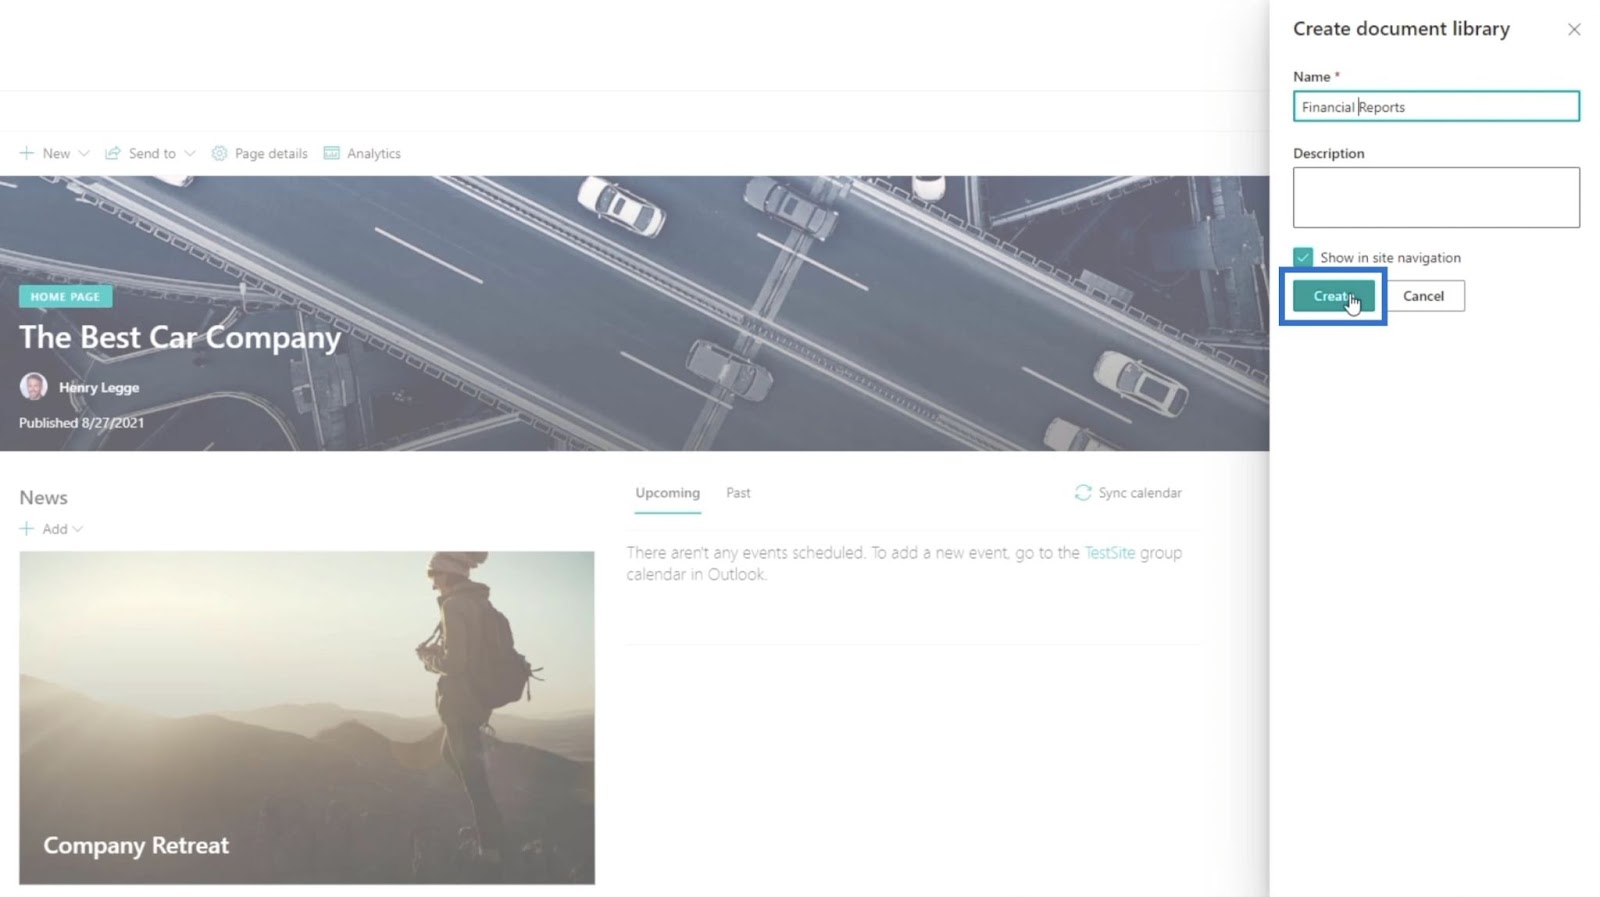
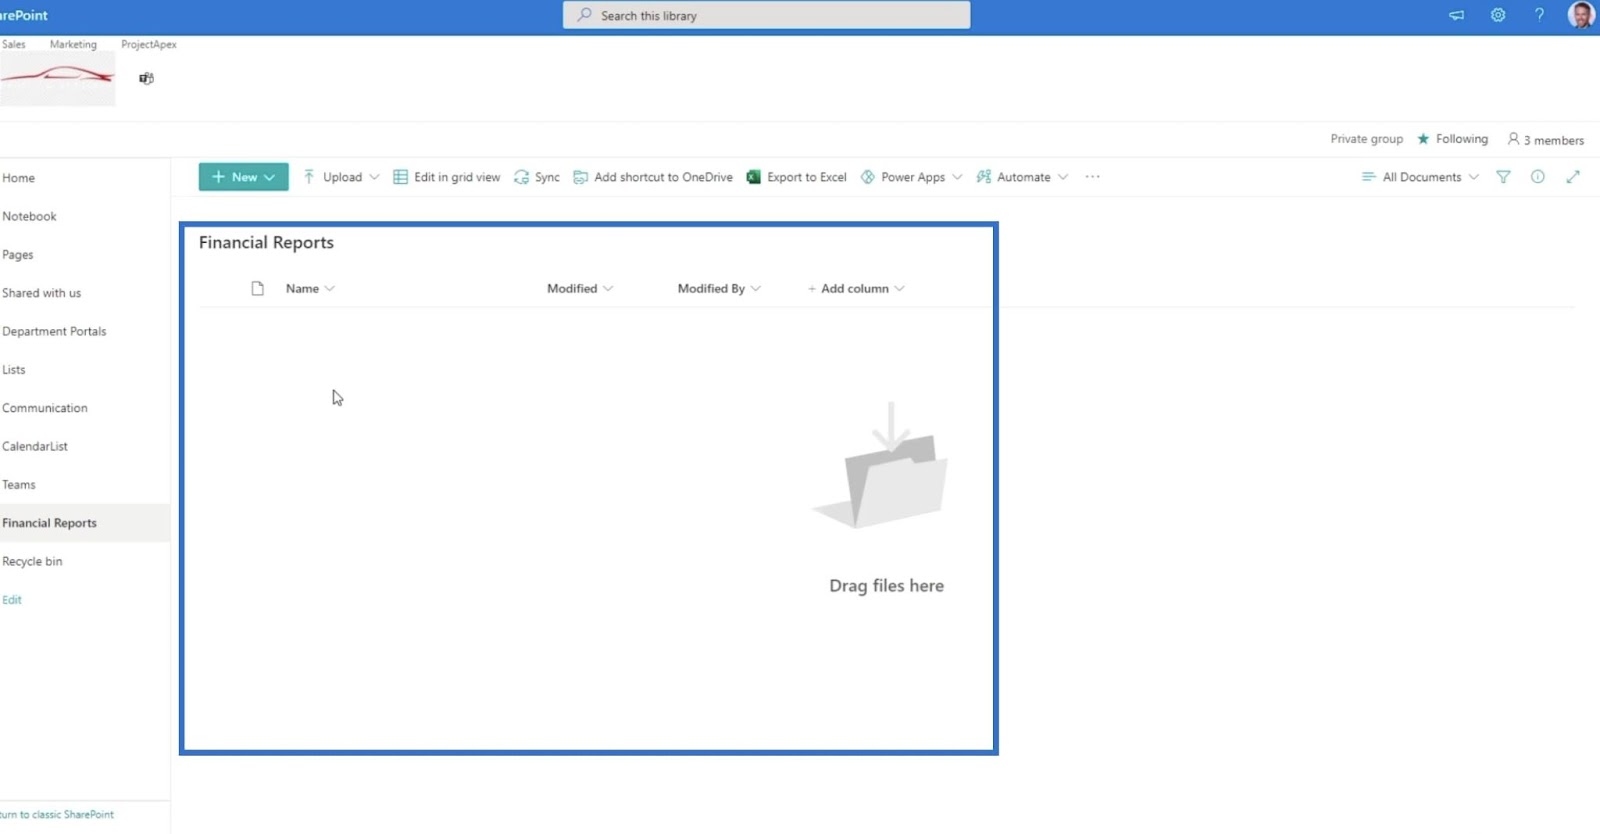
On the Name text field, type “Financial Reports”.

Then, click Create.
For now, the new document library should still be empty.
Setting Up An Automated Cloud Flow
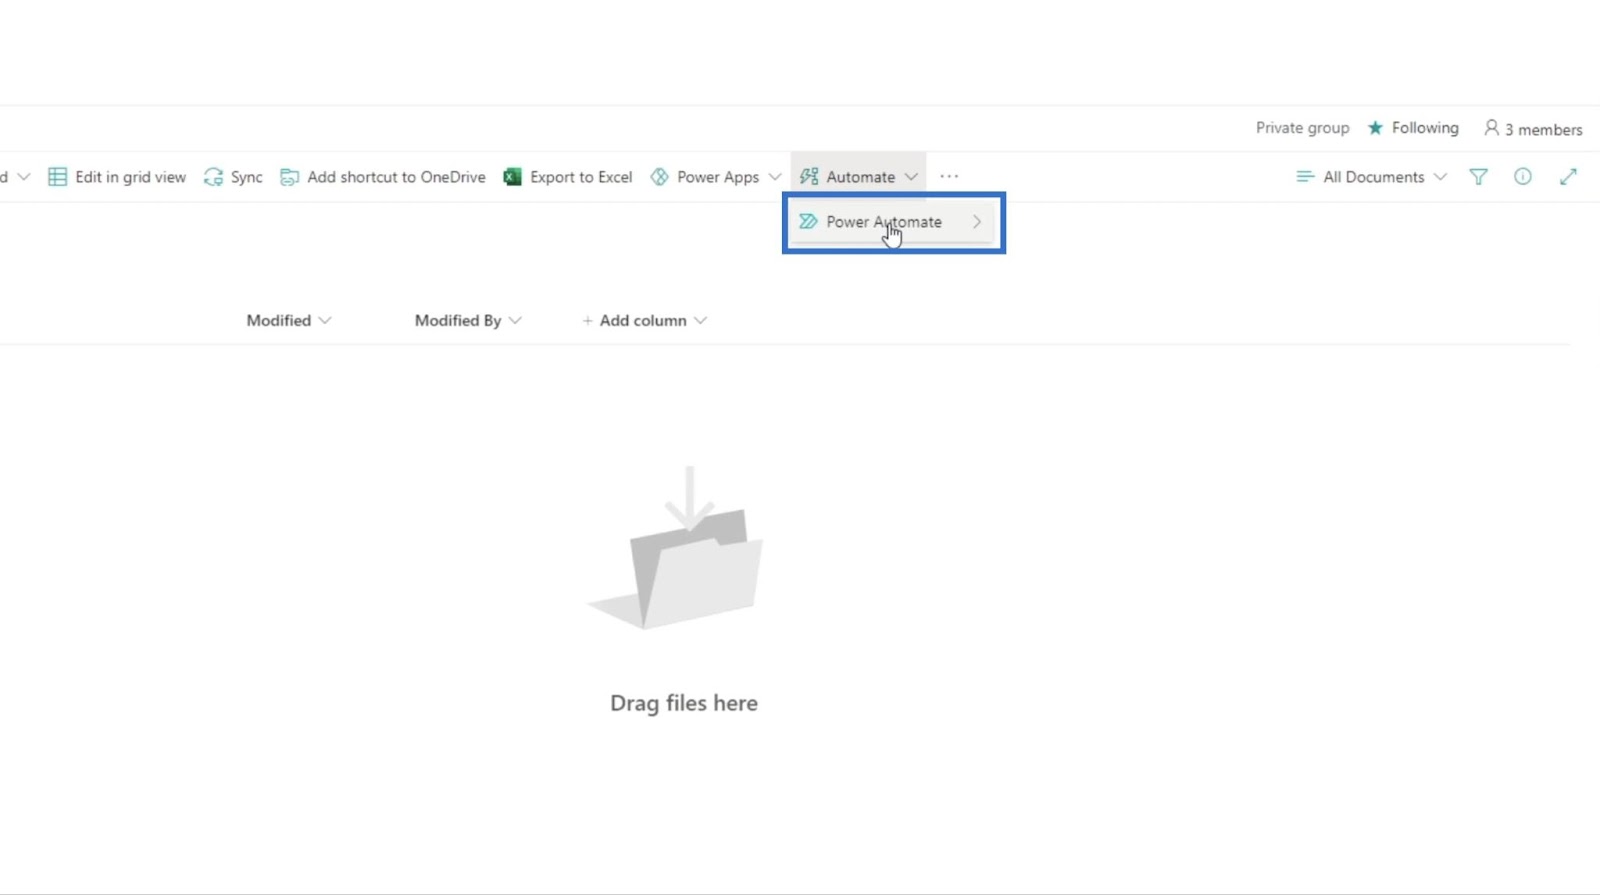
Start by clicking Automate.

Then, choose Power Automate.
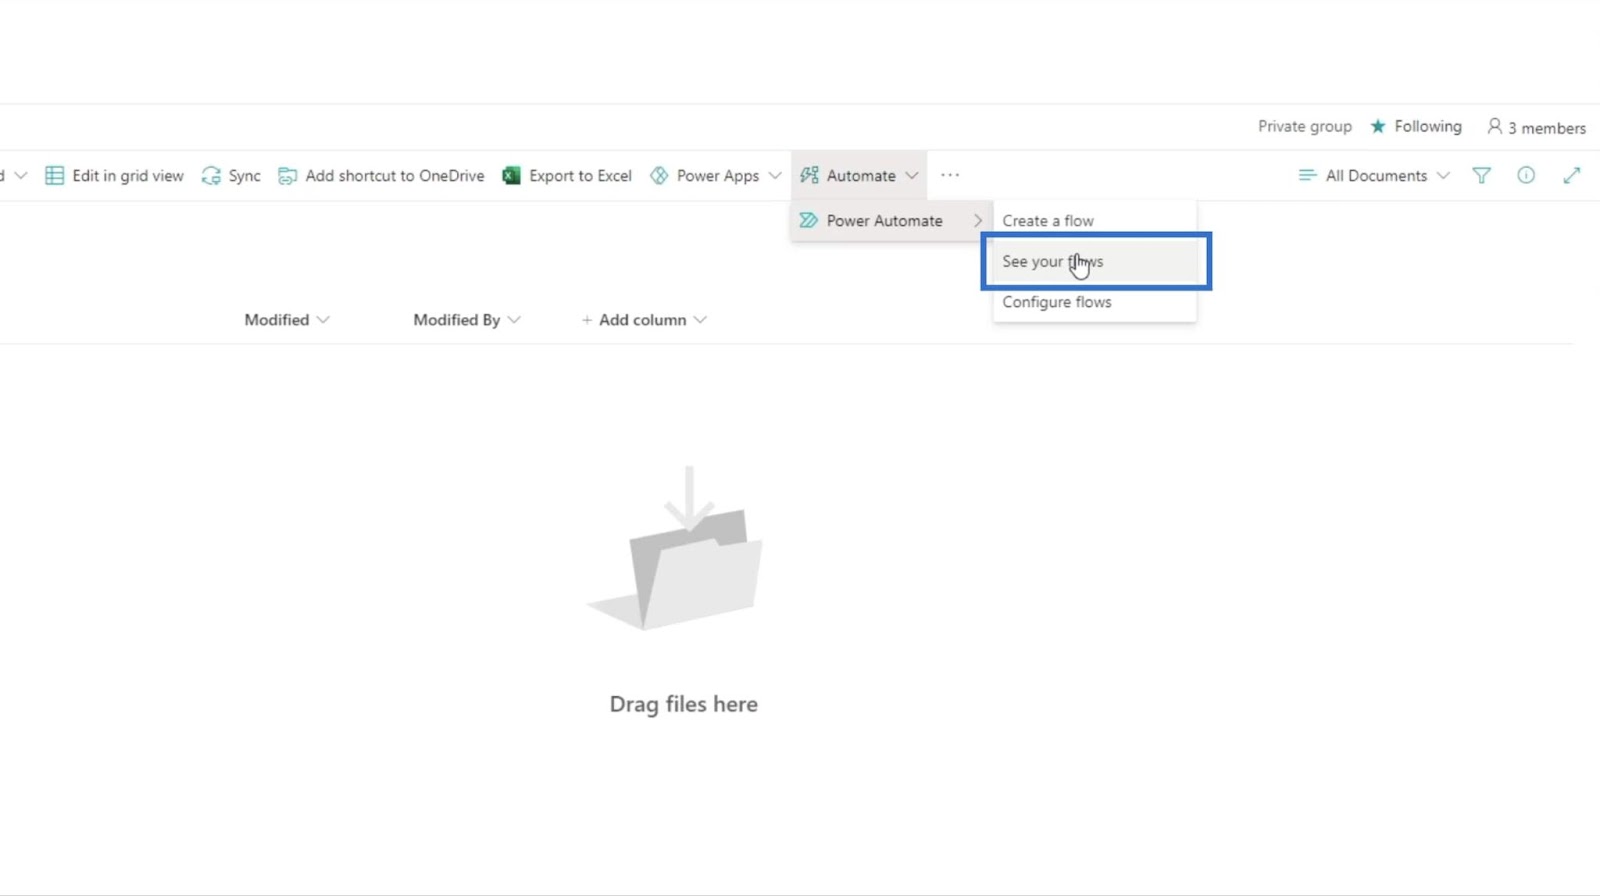
Next, click See your flows.
It’ll then redirect you to a new page.
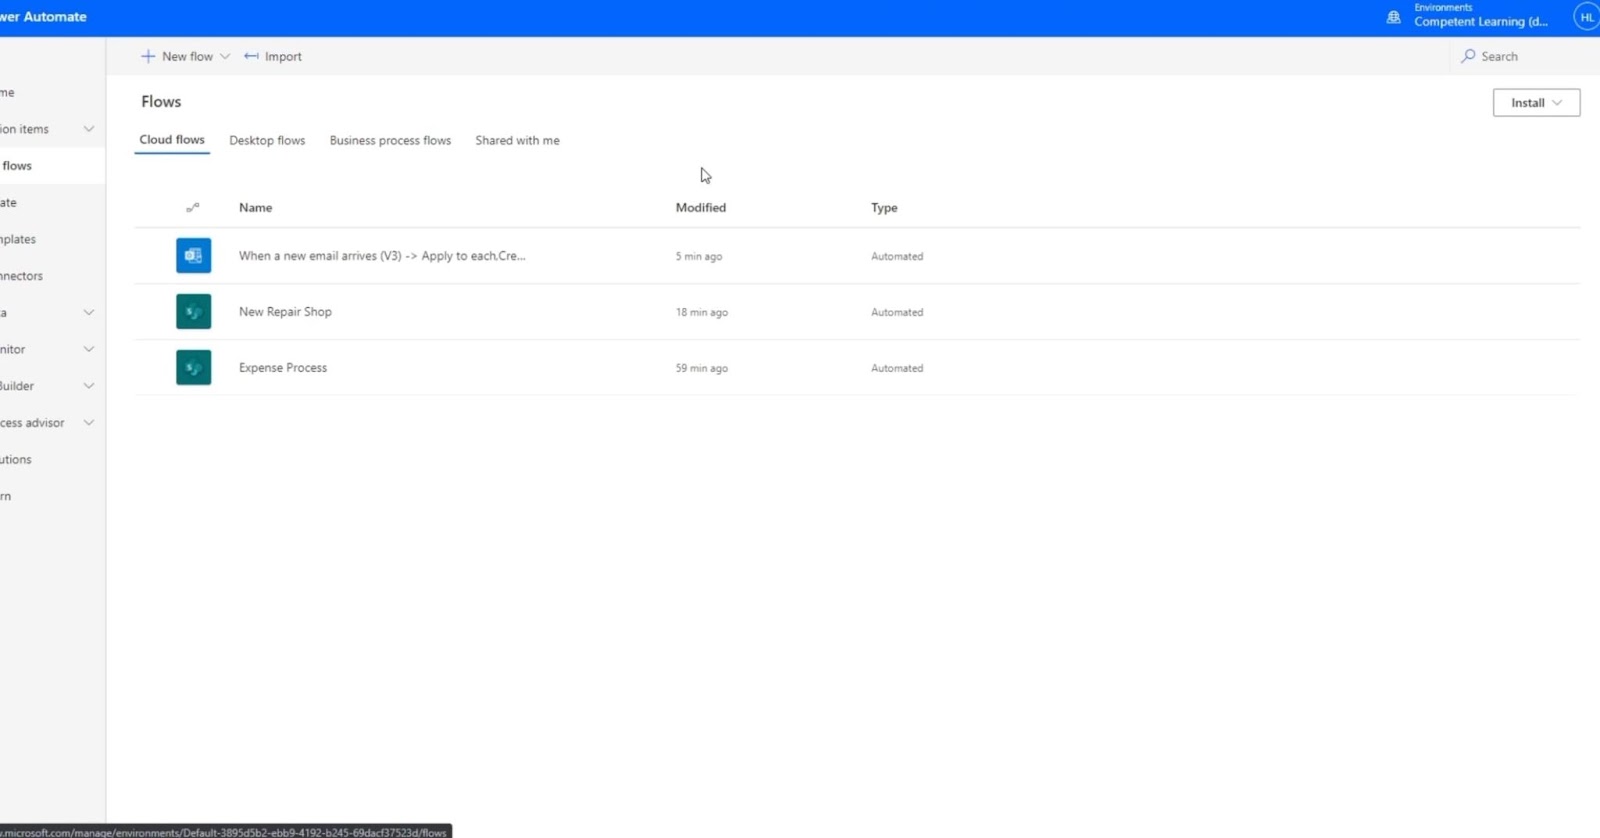
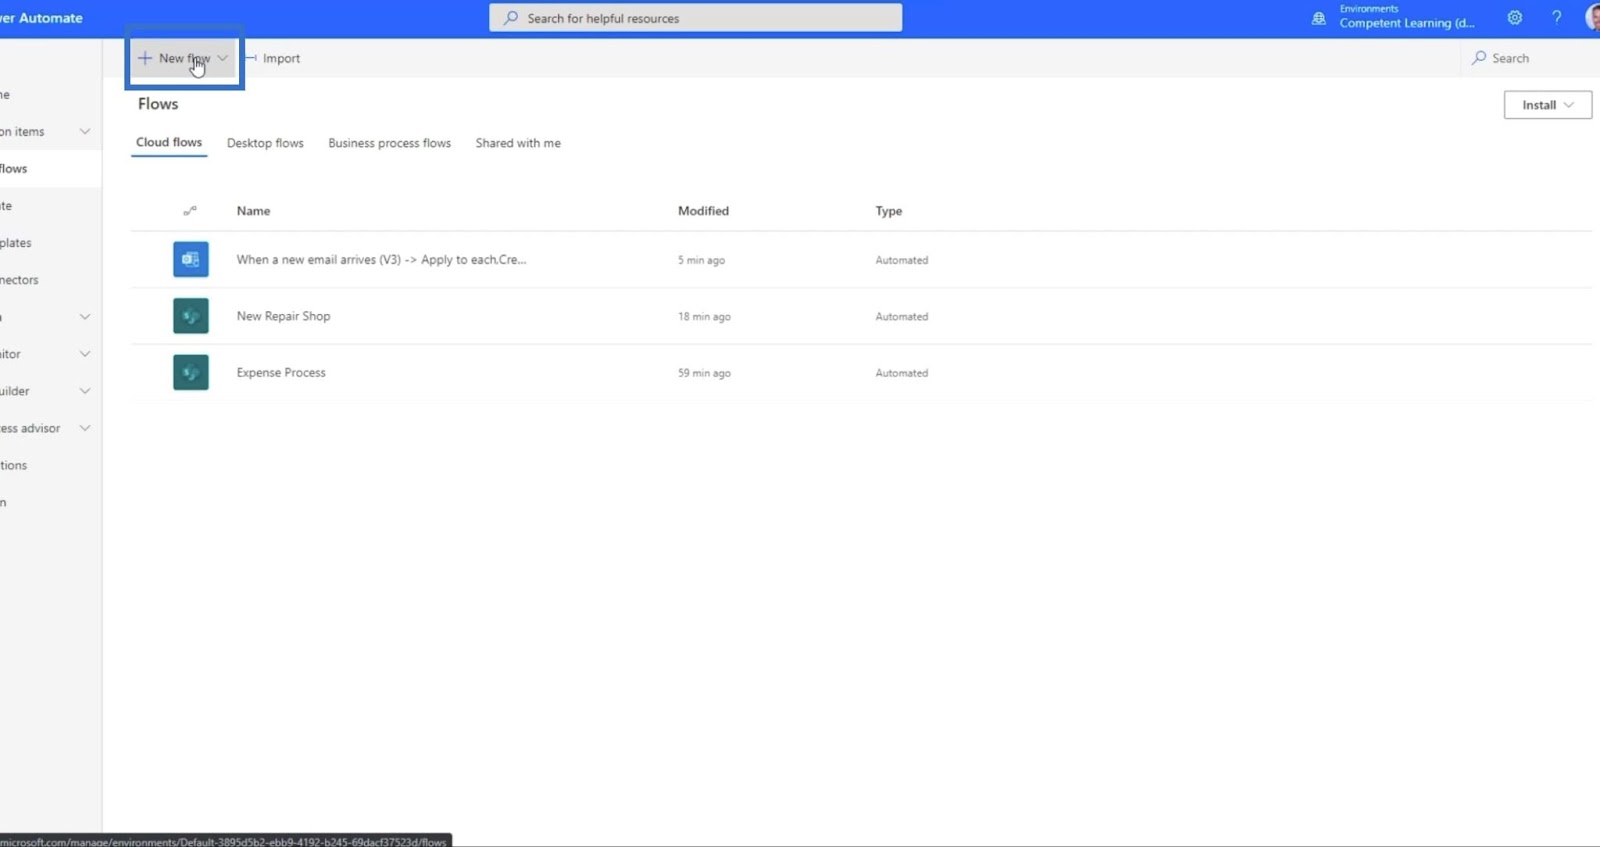
Then, click New flow.
Next, click Automated cloud flow.
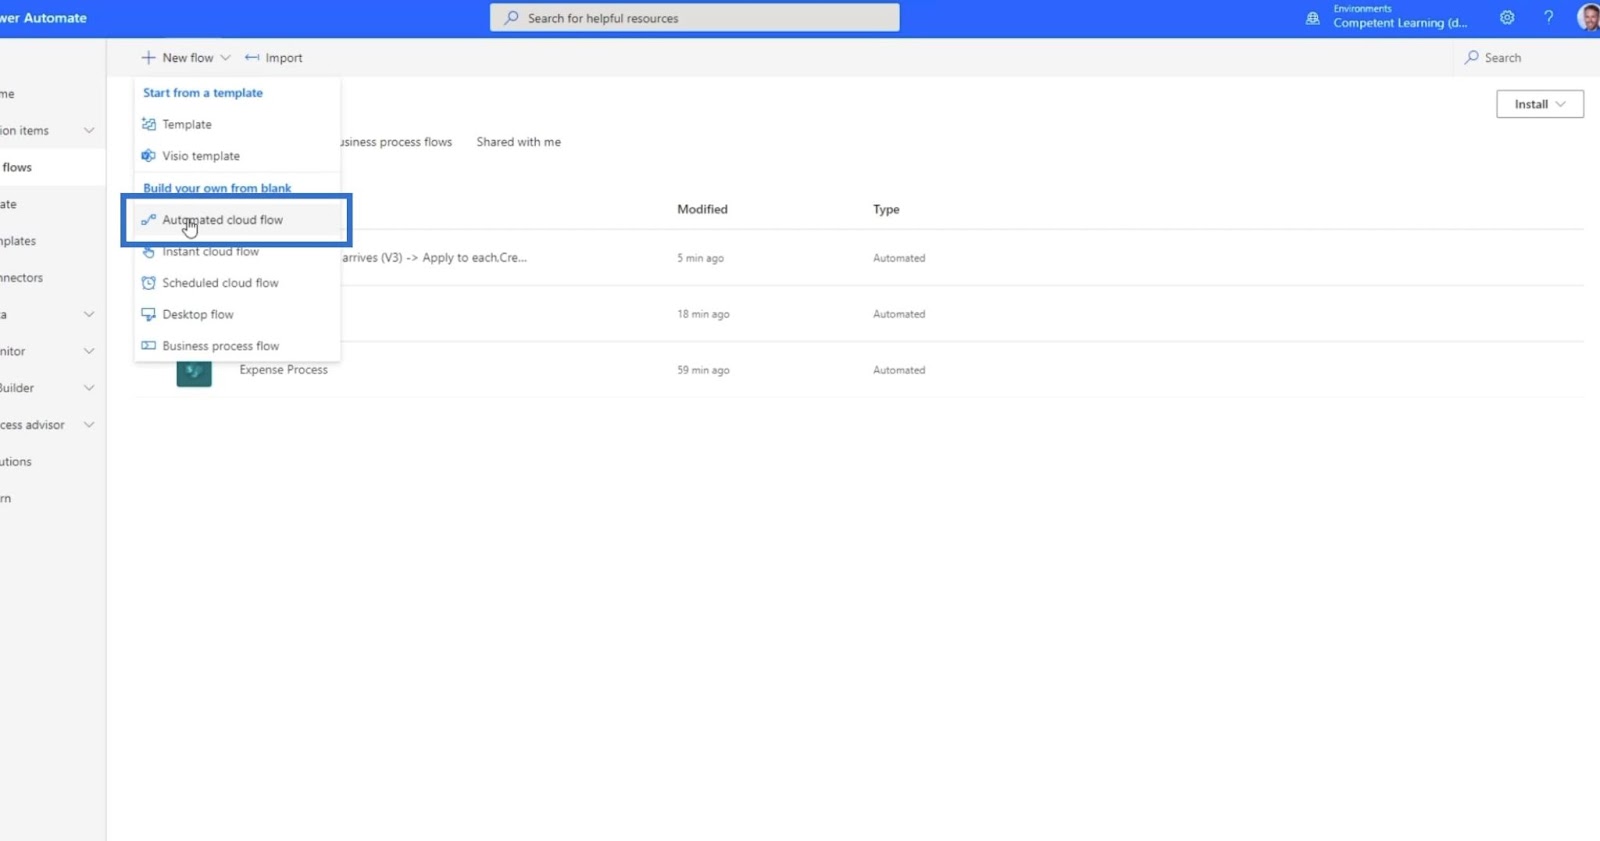
It’ll open a new dialog box.
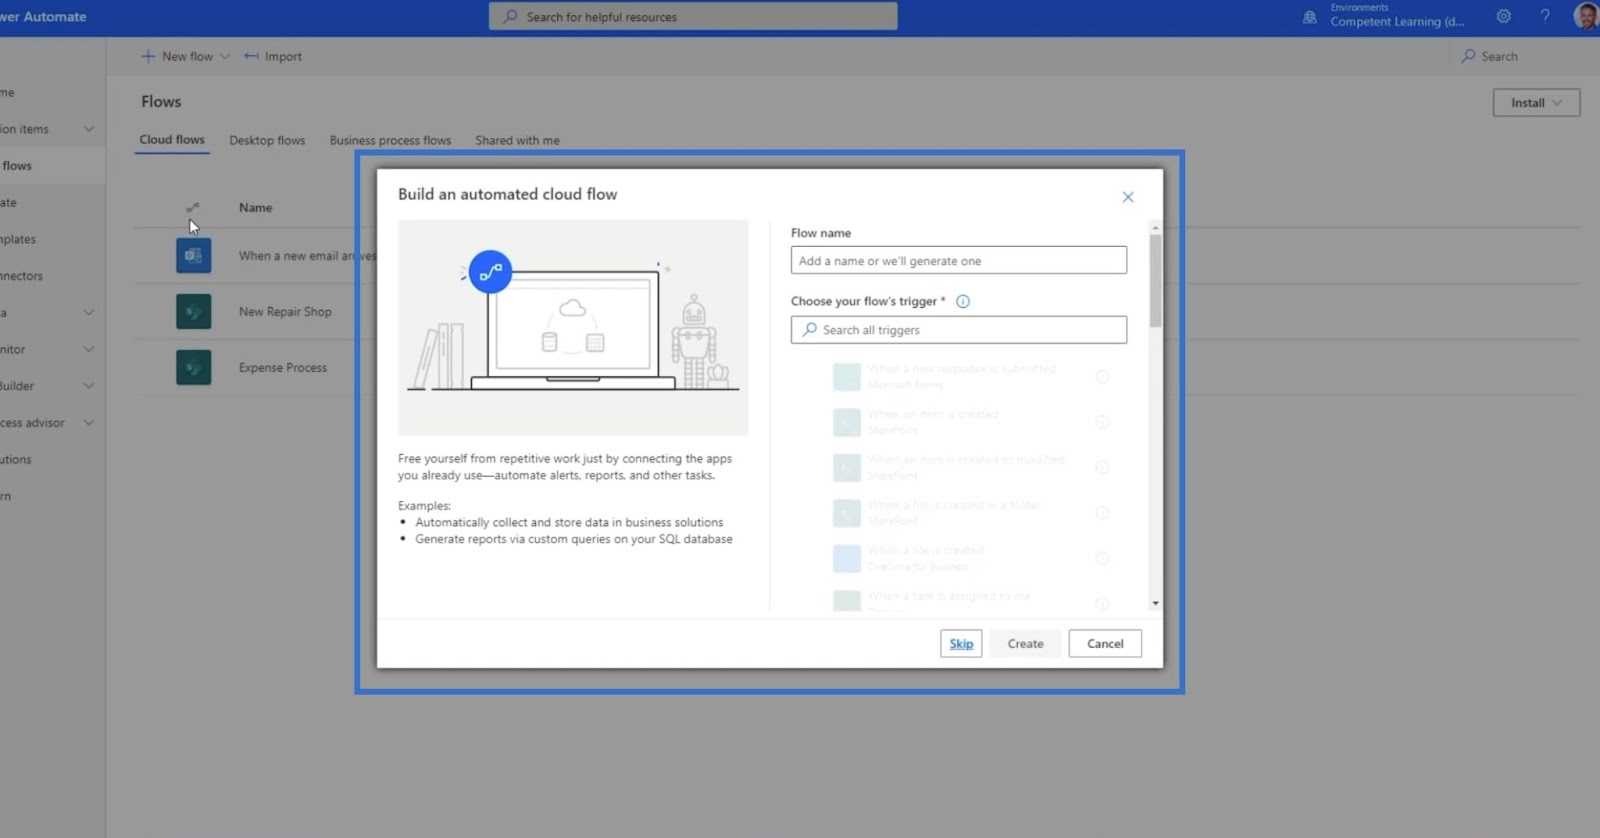
1. Setting Up The Flow Name And Trigger
On the Flow name text field, type “Email to DL”.

On the Choose your flow’s trigger text box, choose When an email arrives. Just type “email“, and it’ll suggest the triggers below.
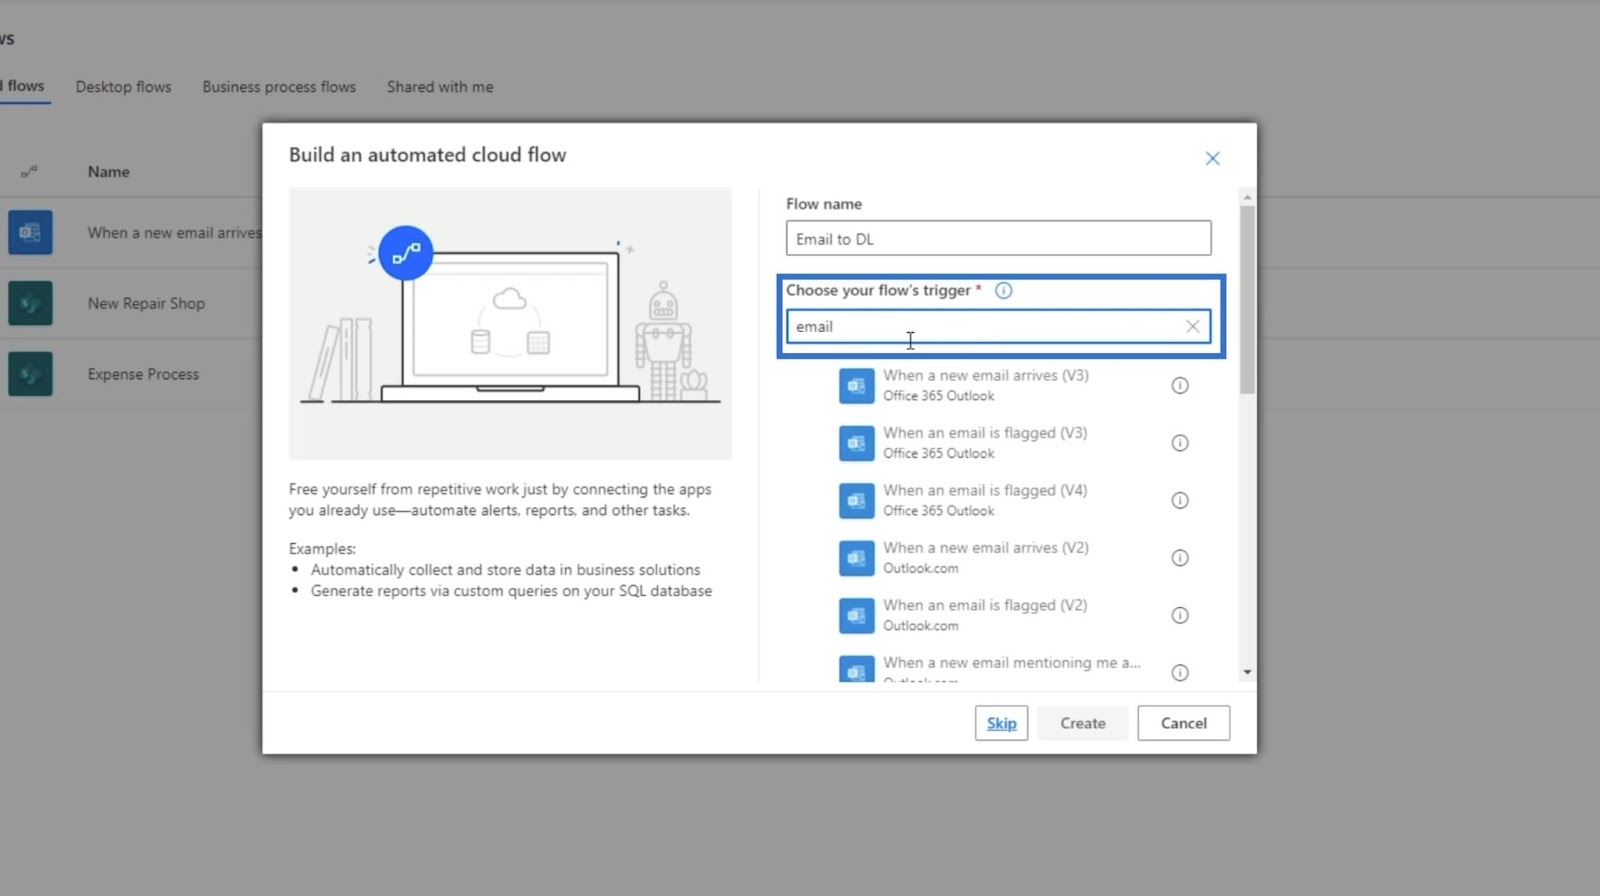
Choose When a new email arrives (V3).
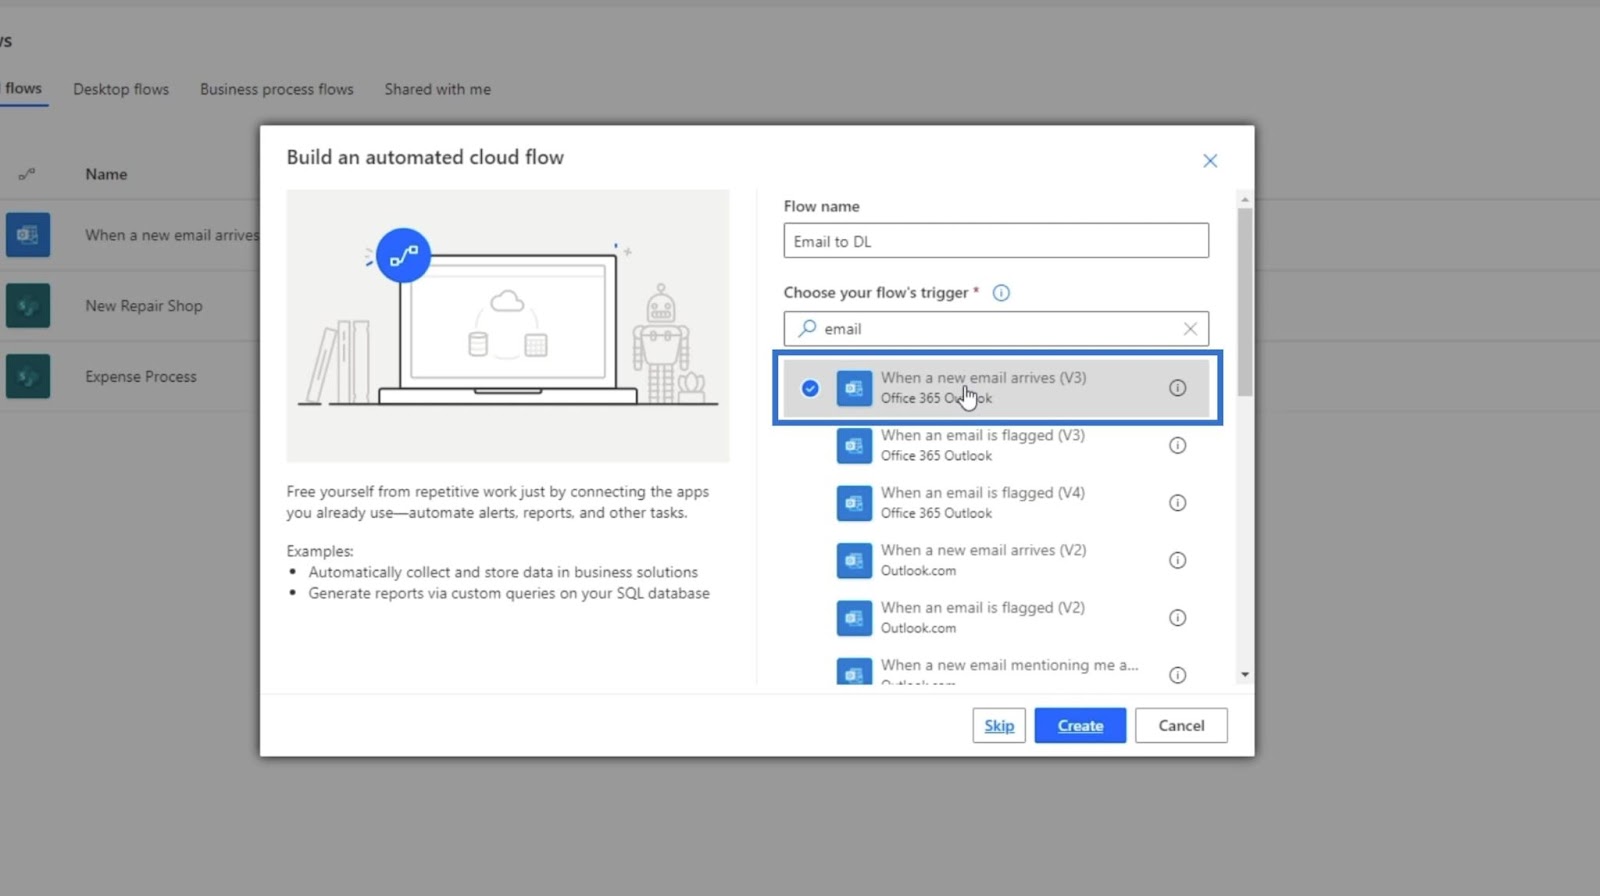
Then, click Create.
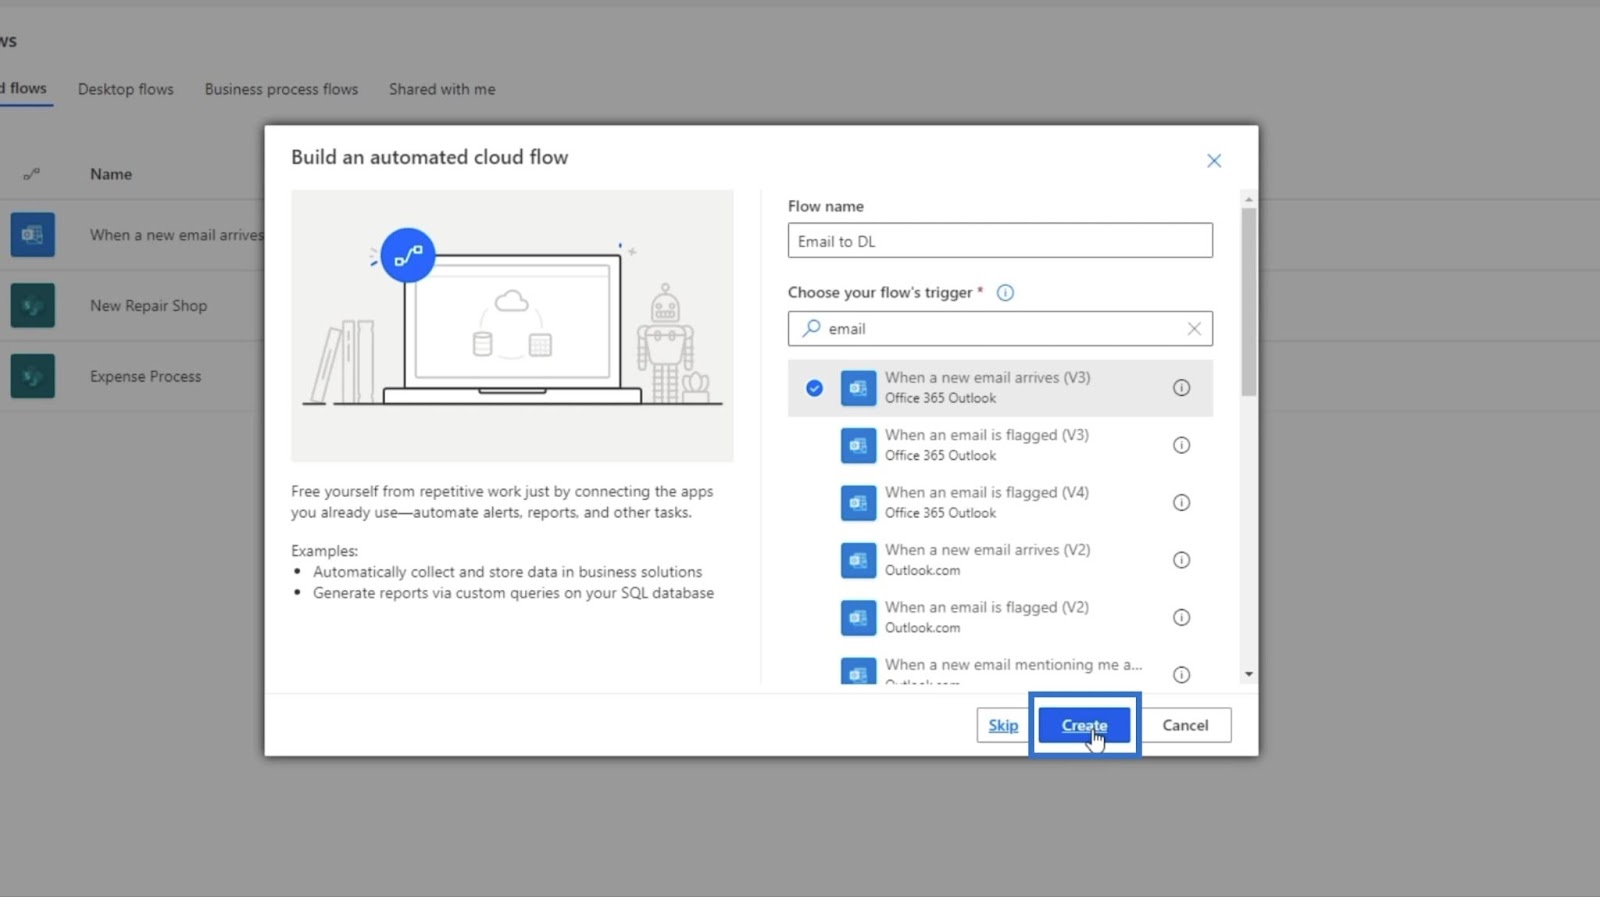
Remember that this is usually a centralized email, but for this example, we’ll use a personal email.
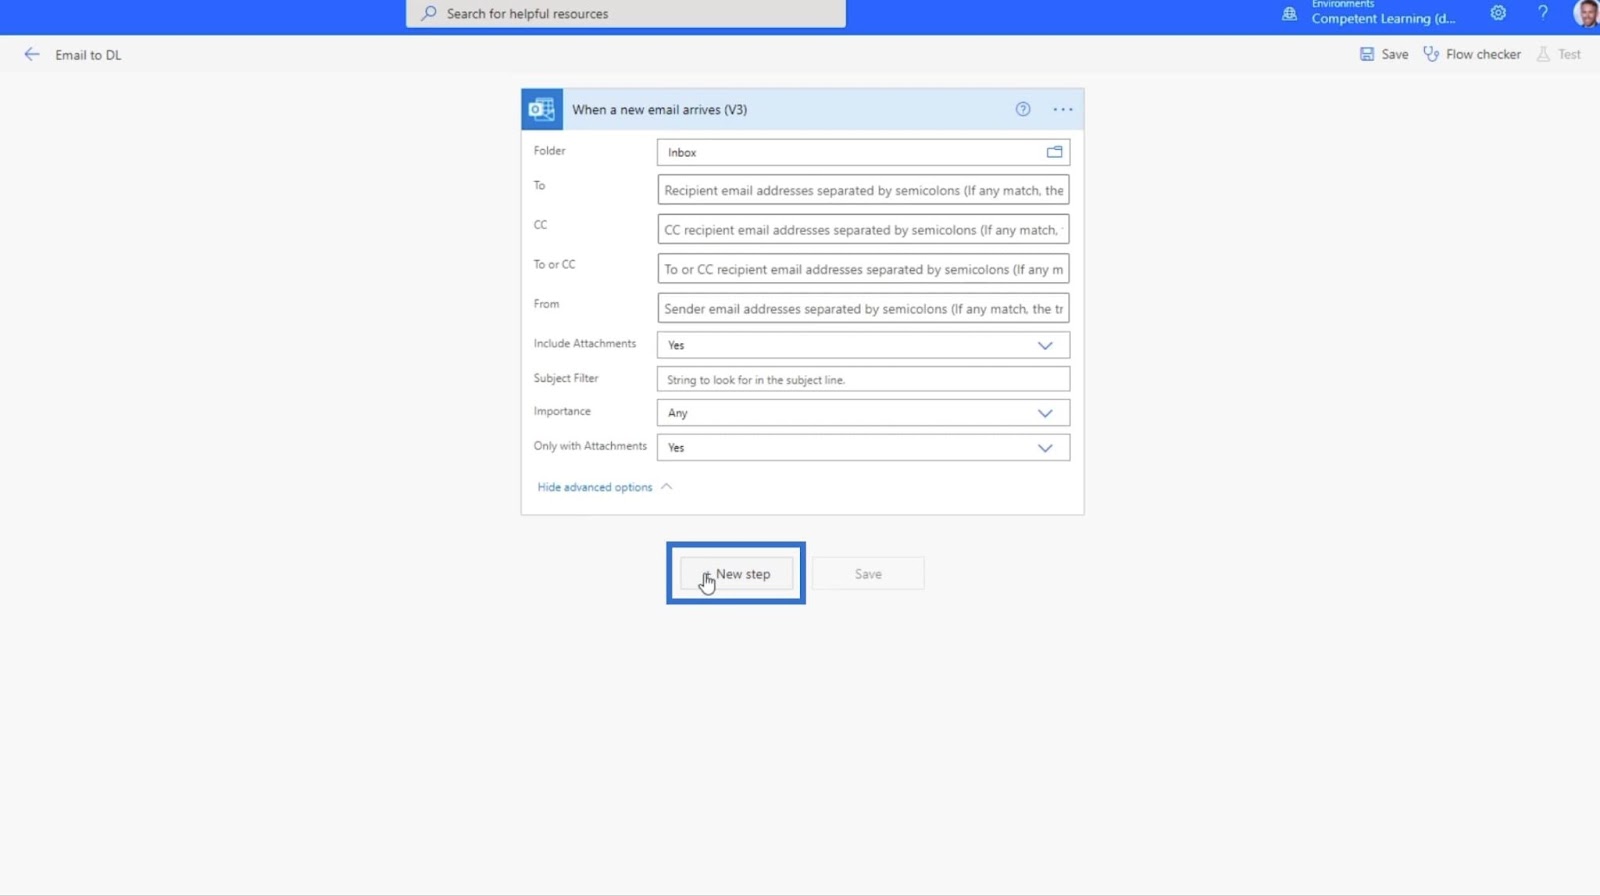
After that, a When a new email arrives popup box will appear.

We’re only going to set this for emails with attachments. So, click Show advanced options.

For the Include Attachments field, set it to Yes.
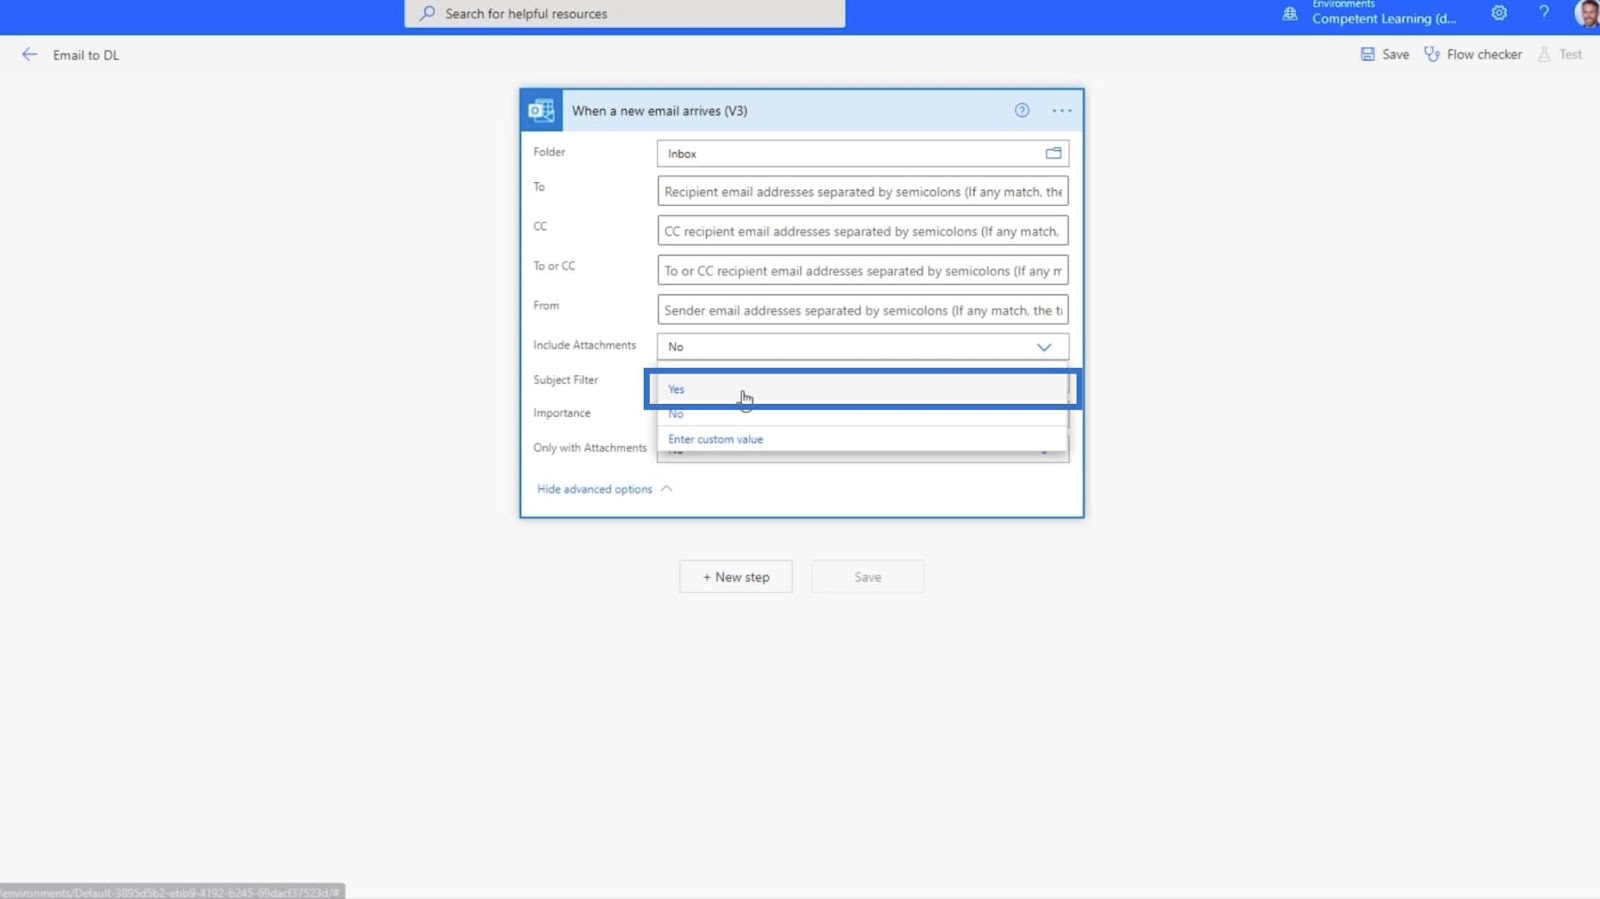
Set the Only with Attachments field to Yes as well.
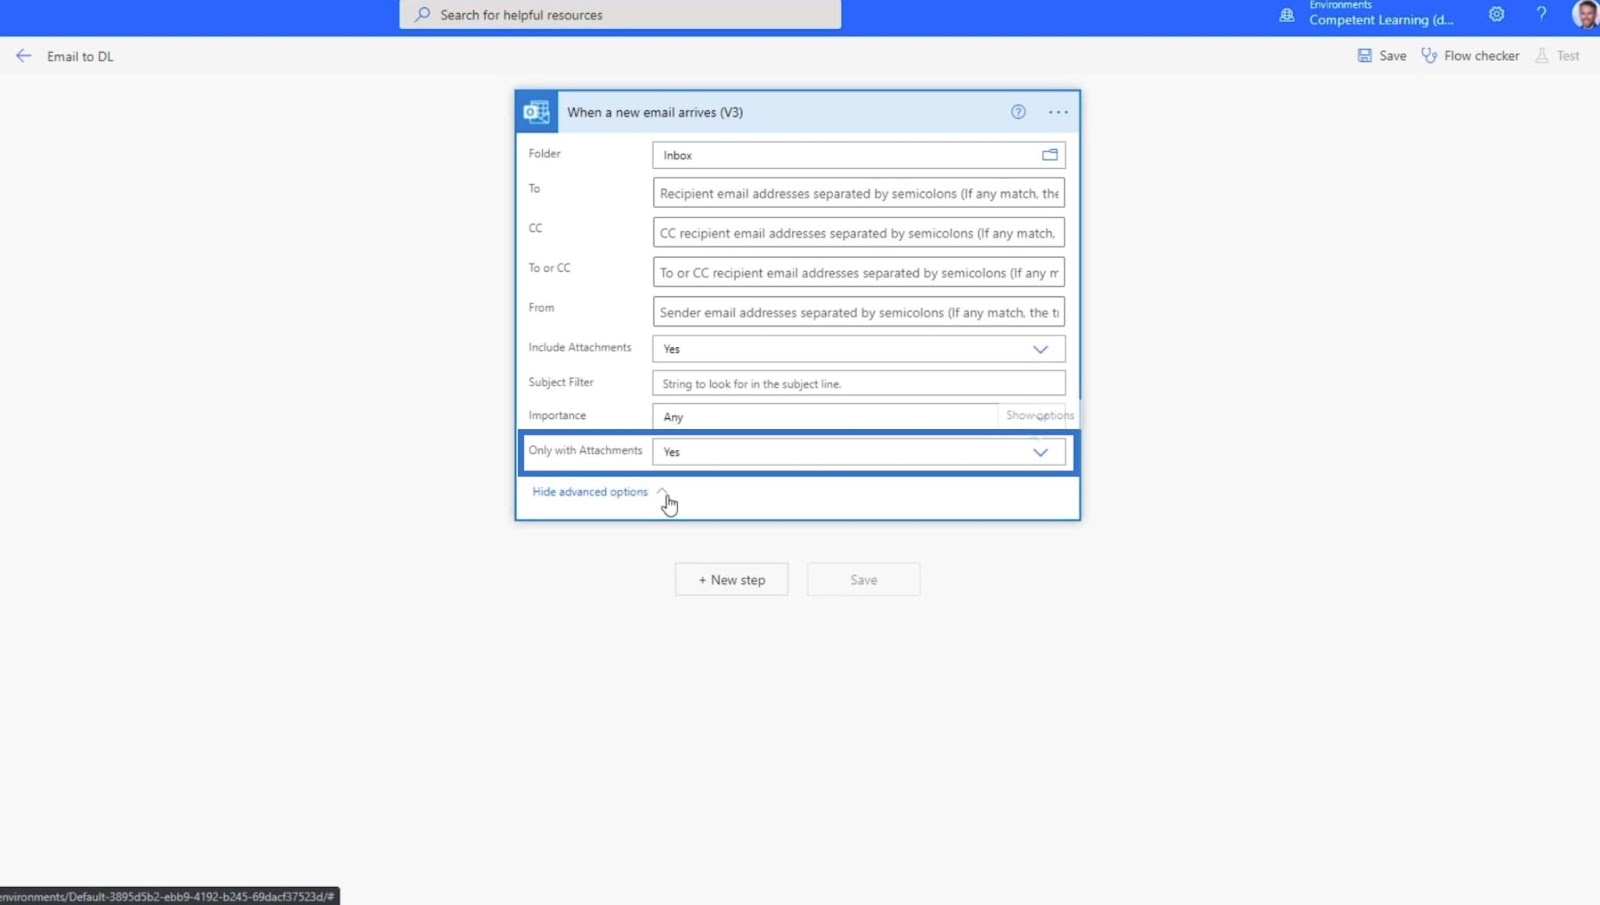
Next, click + New step.
This will display the Choose an operation field box.
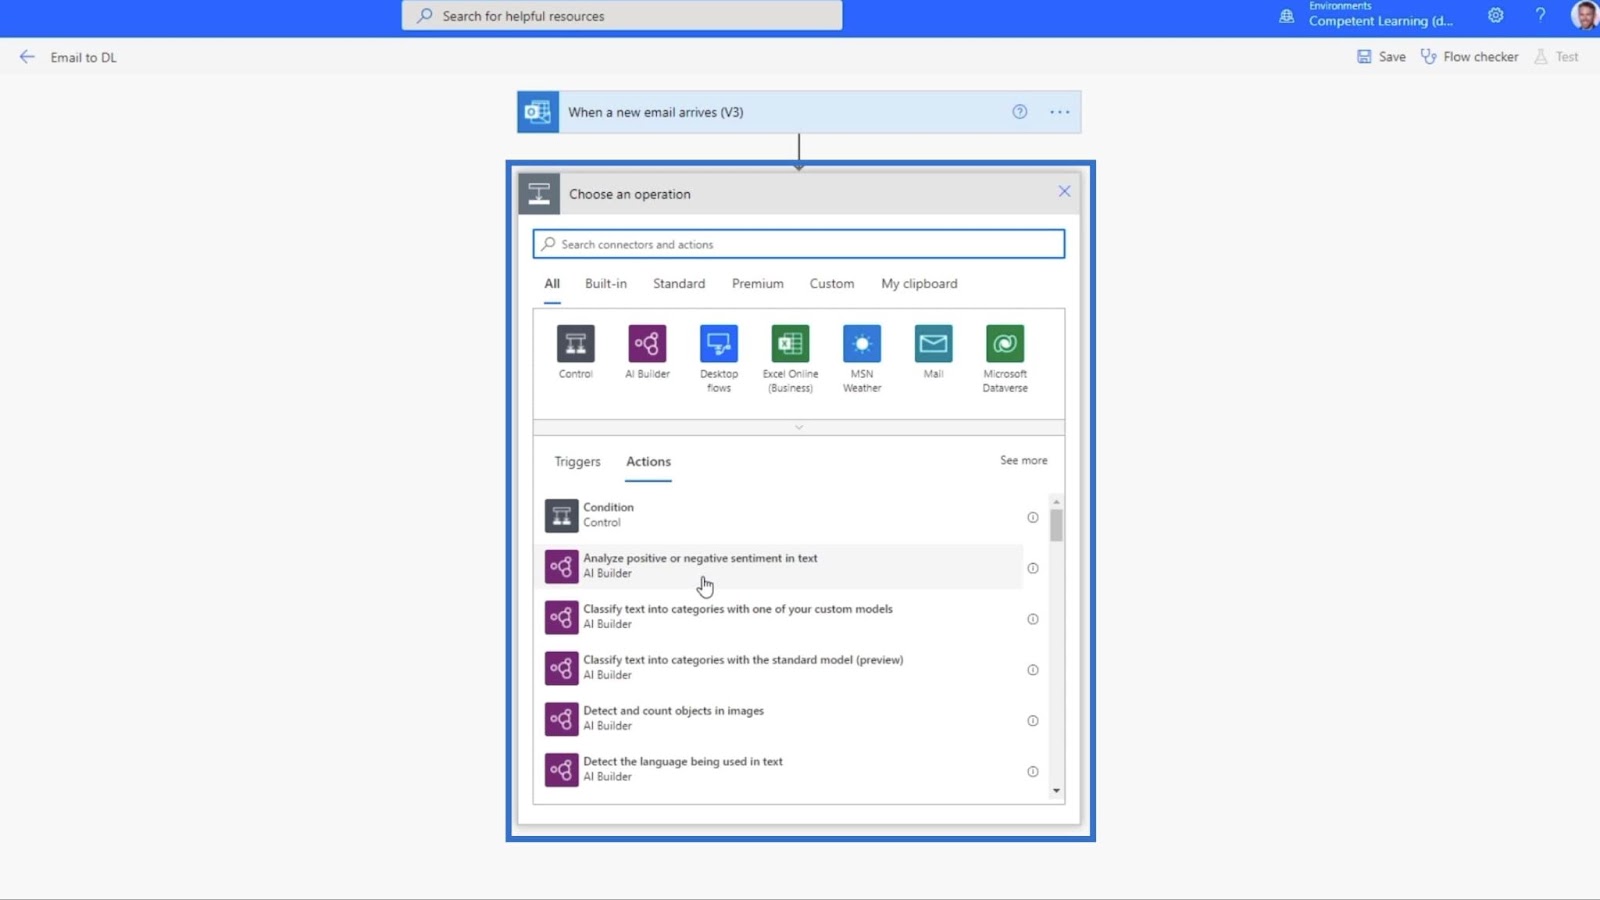
2. Setting Up The Action For Notifications
We’ll send a team message to ourselves, so type “team”, and choose Microsoft Teams.

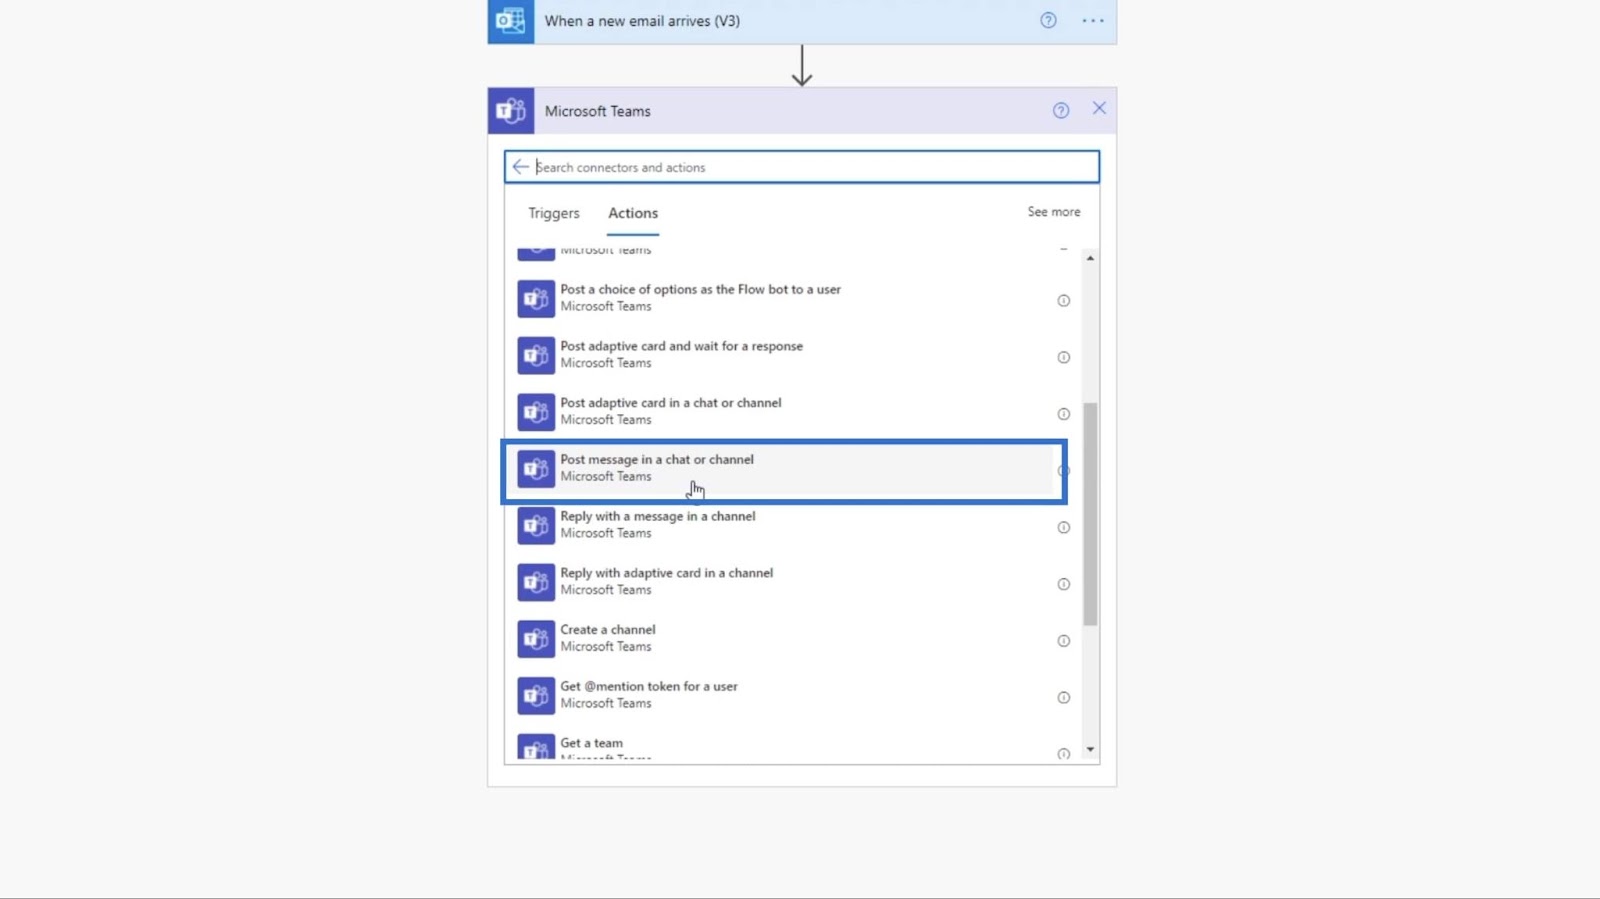
After clicking Microsoft Teams, we need to set the Actions. In our example, we’ll use Post message in a chat or channel.
Next, we’ll set the Post in to Channel.
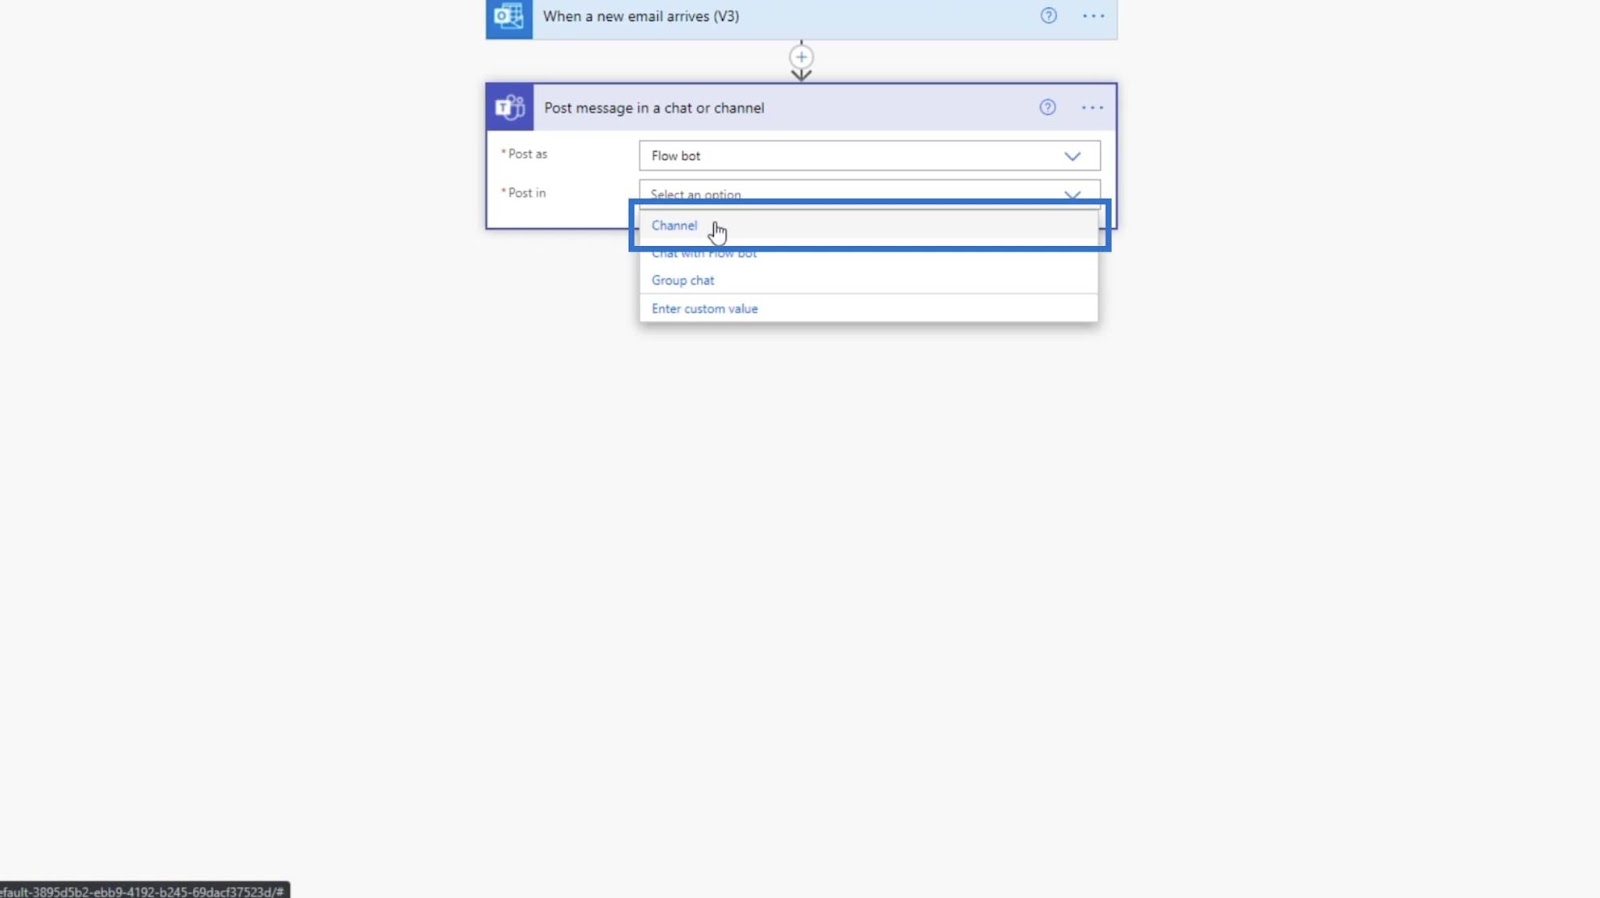
After that, set the Team to TestSite.
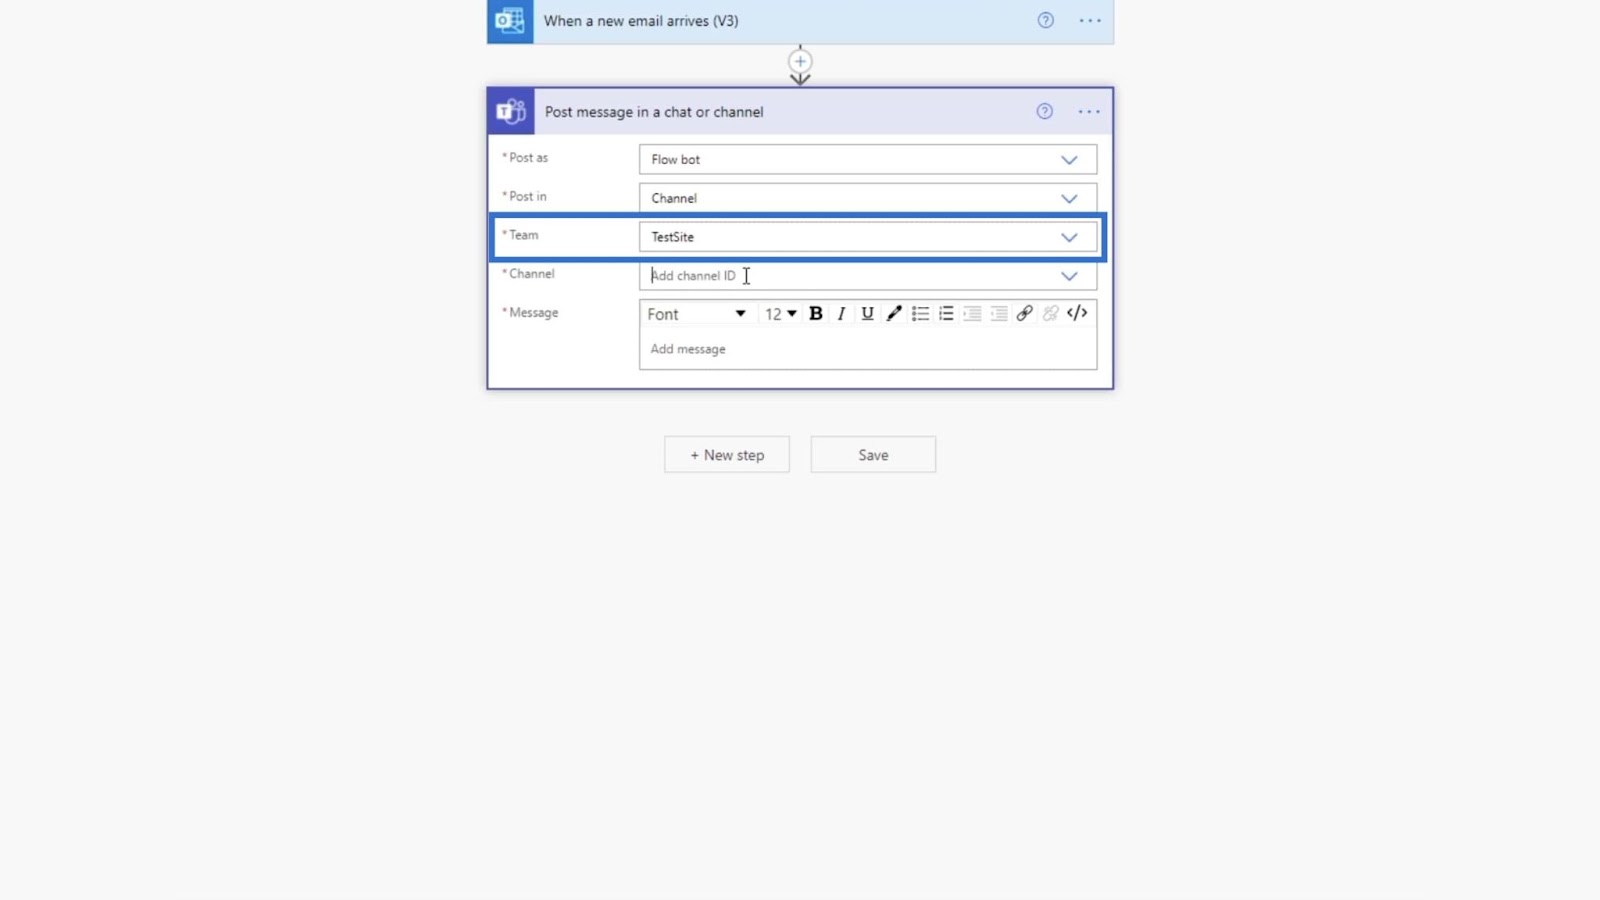
And the Channel should be set to Debug because we’ll use this for debugging purposes.

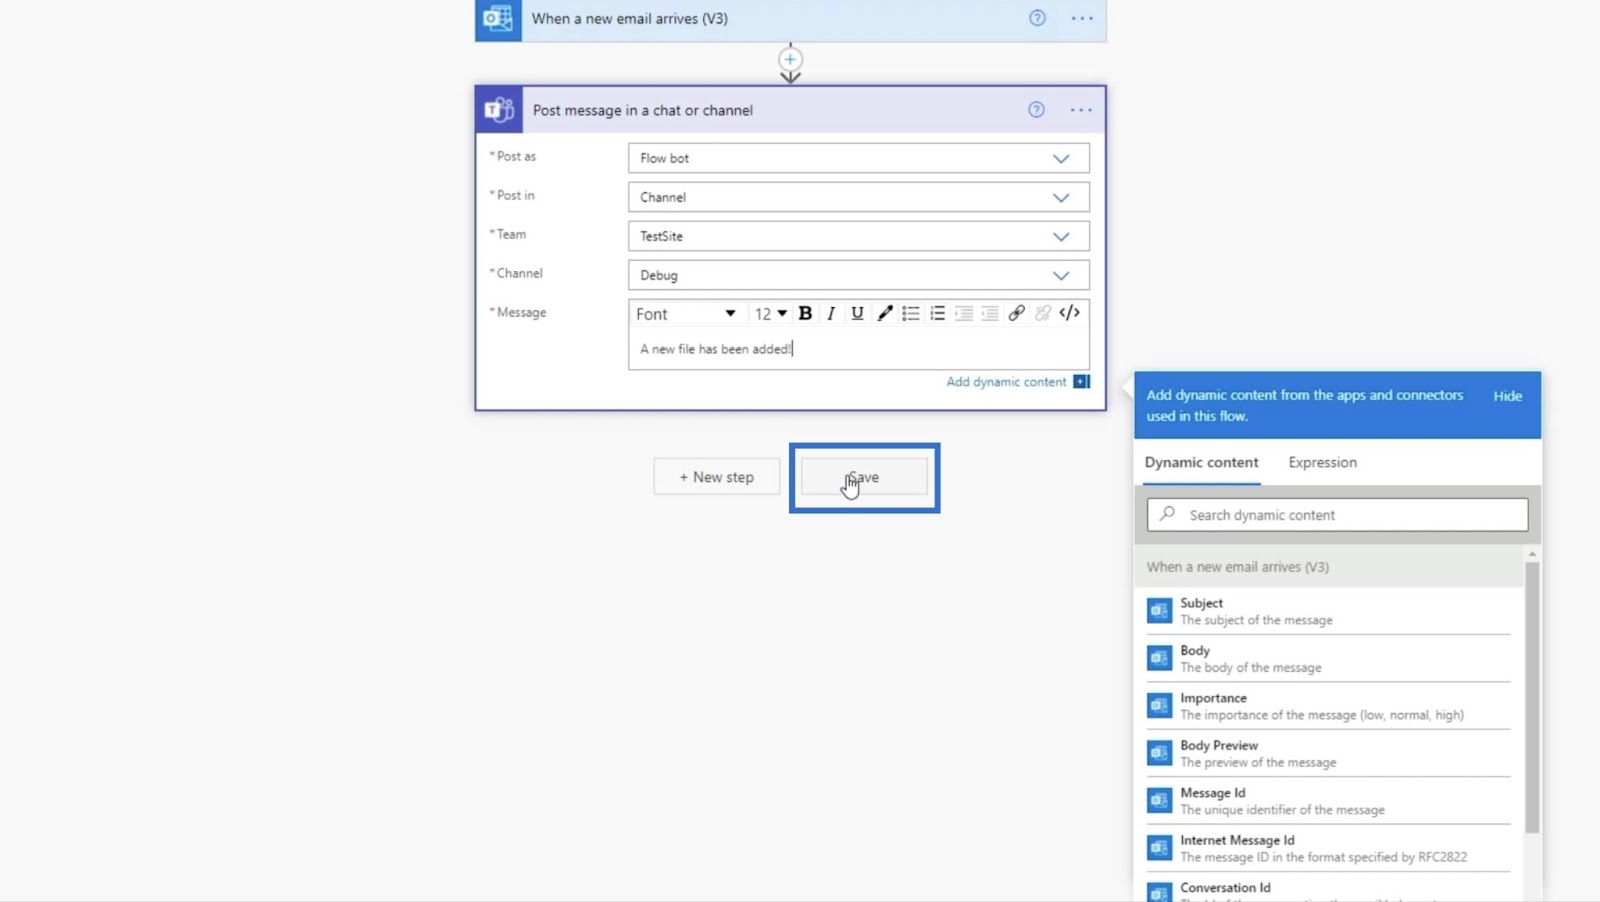
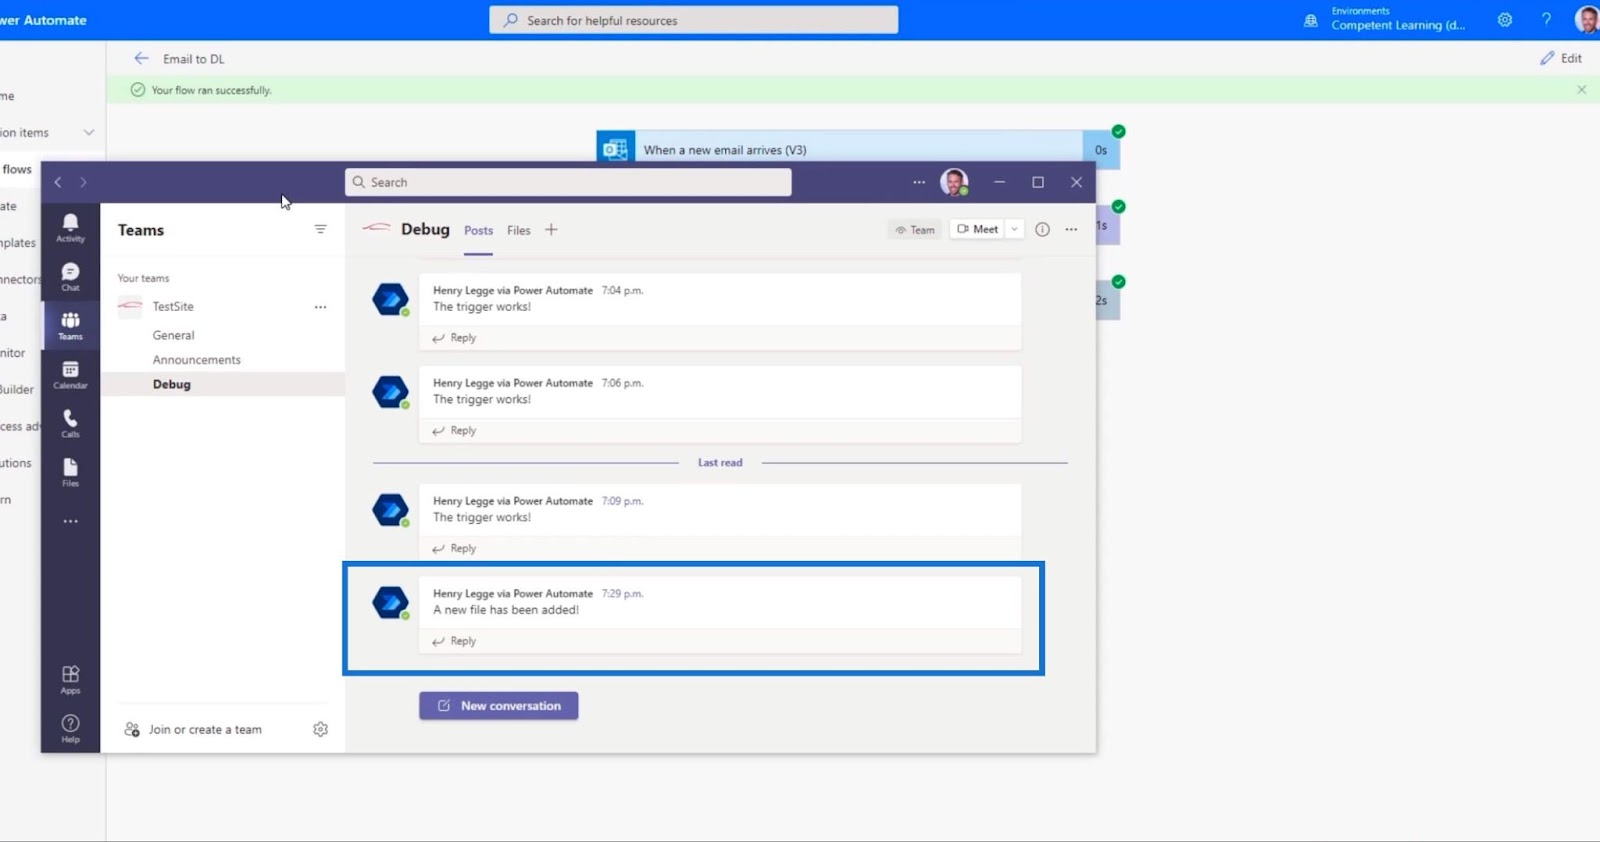
Then, we’ll set the message as “A new file has been added!”.
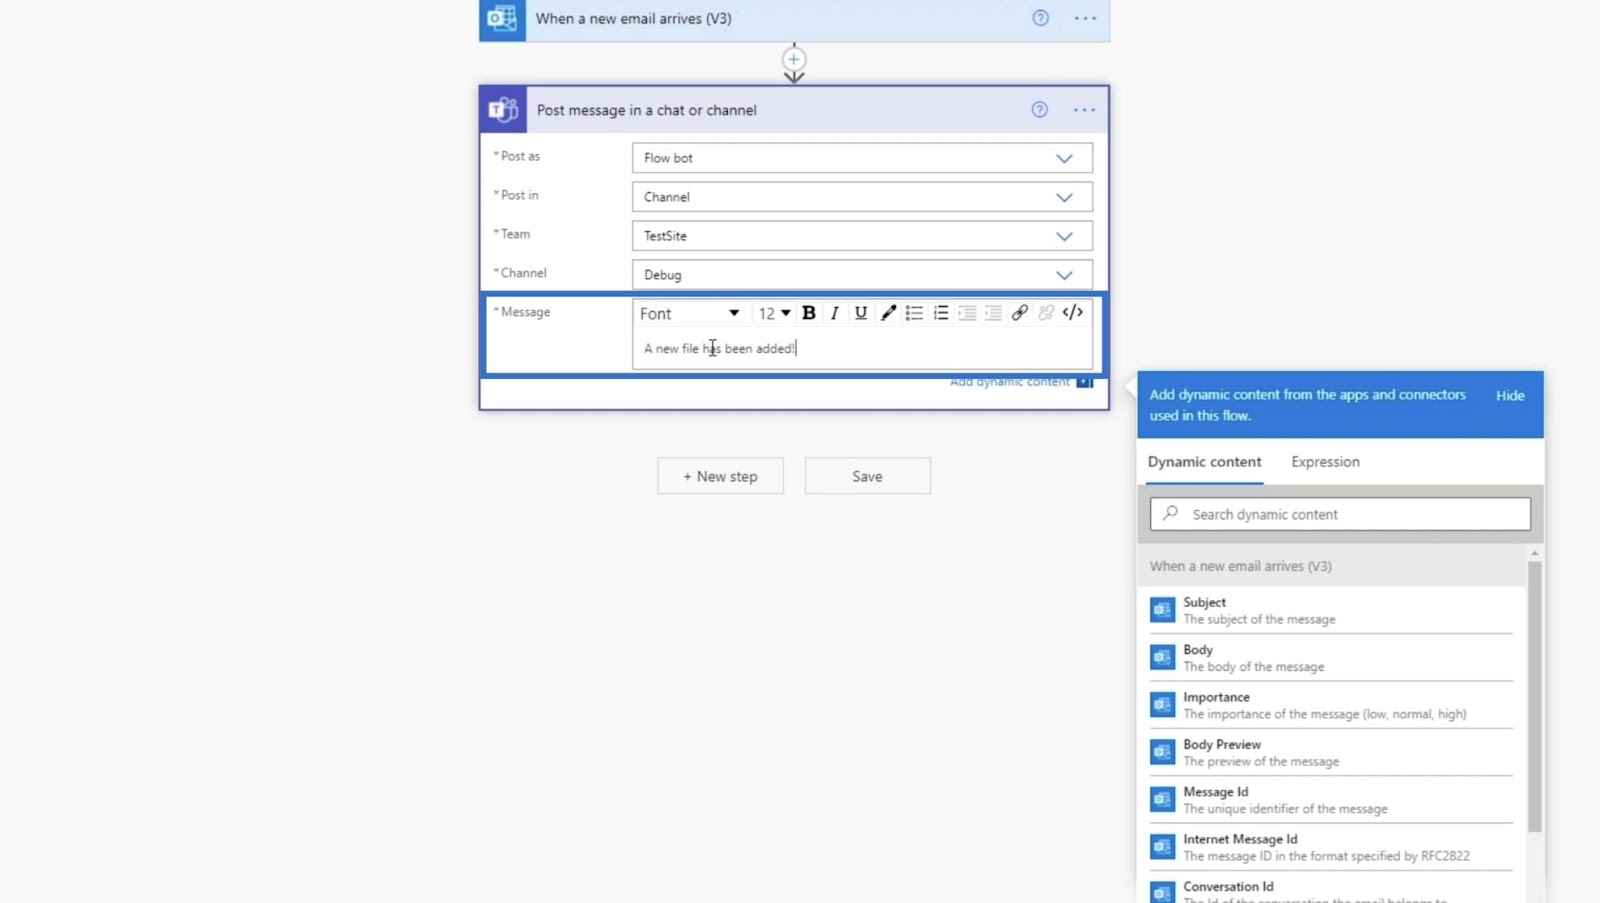
Finally, click Save.
Let’s proceed to the next step by clicking + Next Step.

3. Setting Up The Action For Uploading Files
Let’s go back to SharePoint by typing “sharepoint” on the search bar.
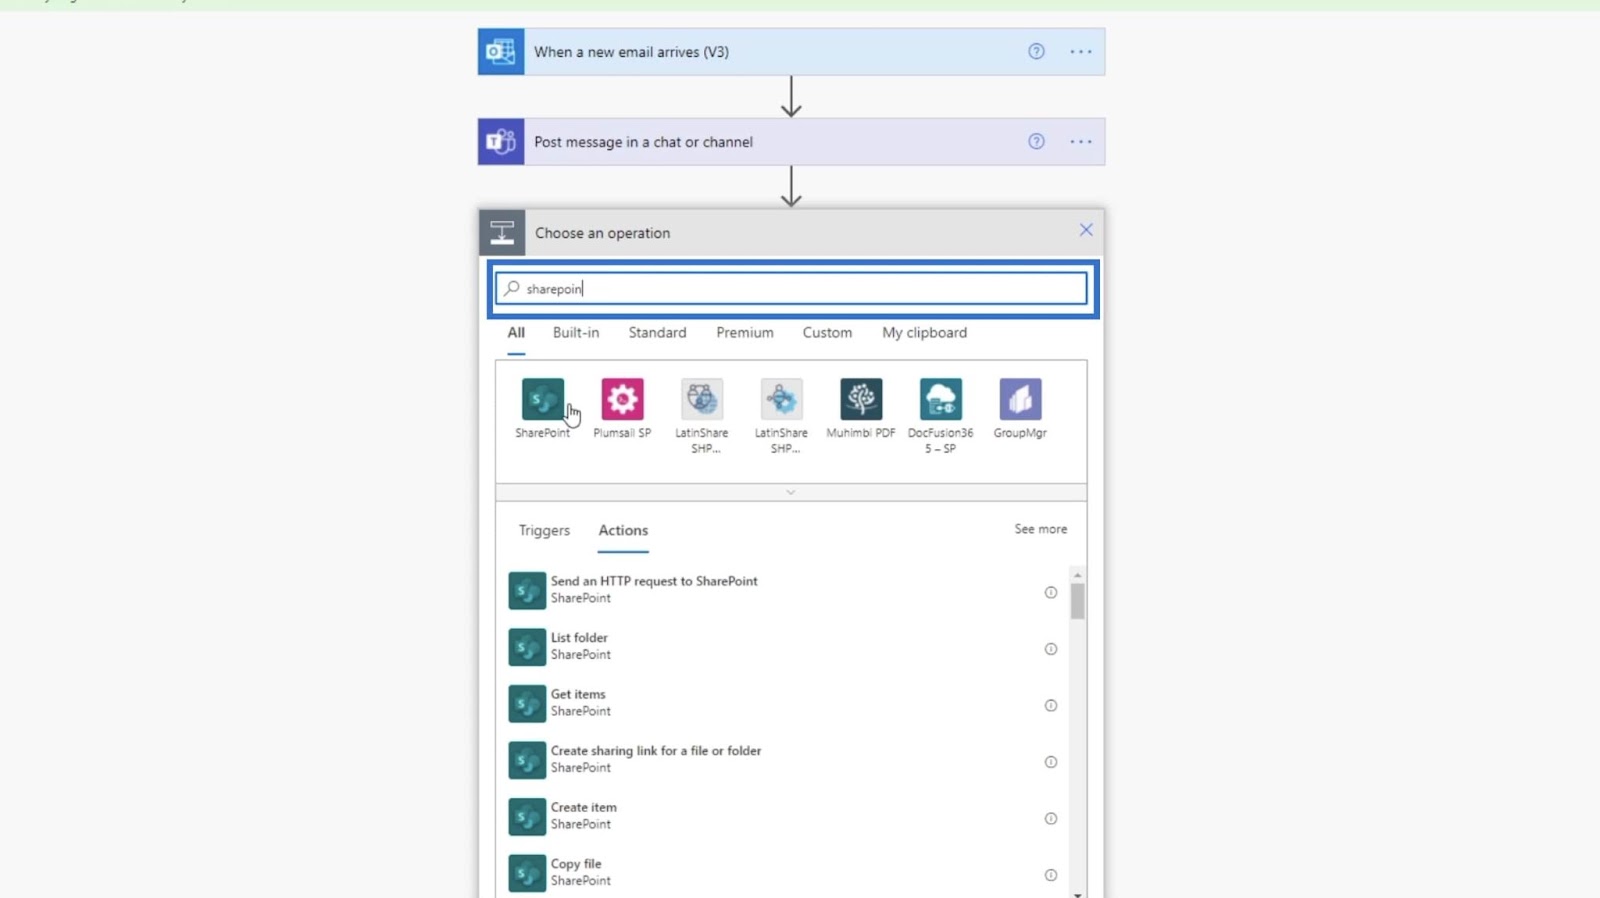
Then, choose SharePoint from the results.

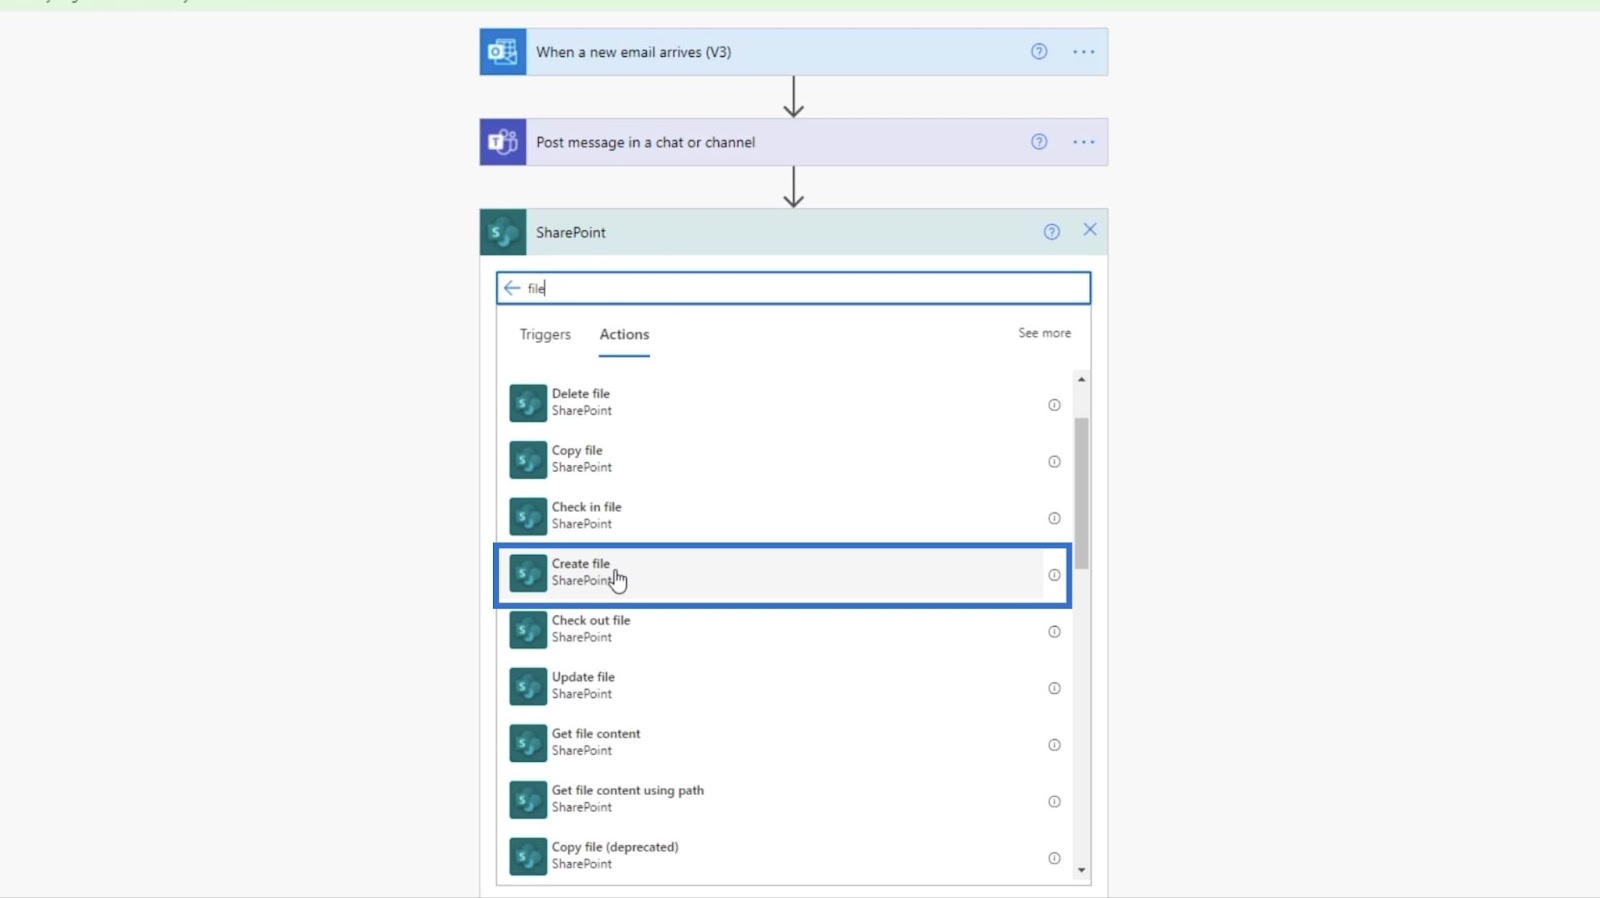
For Actions, type “file’ on the search bar.
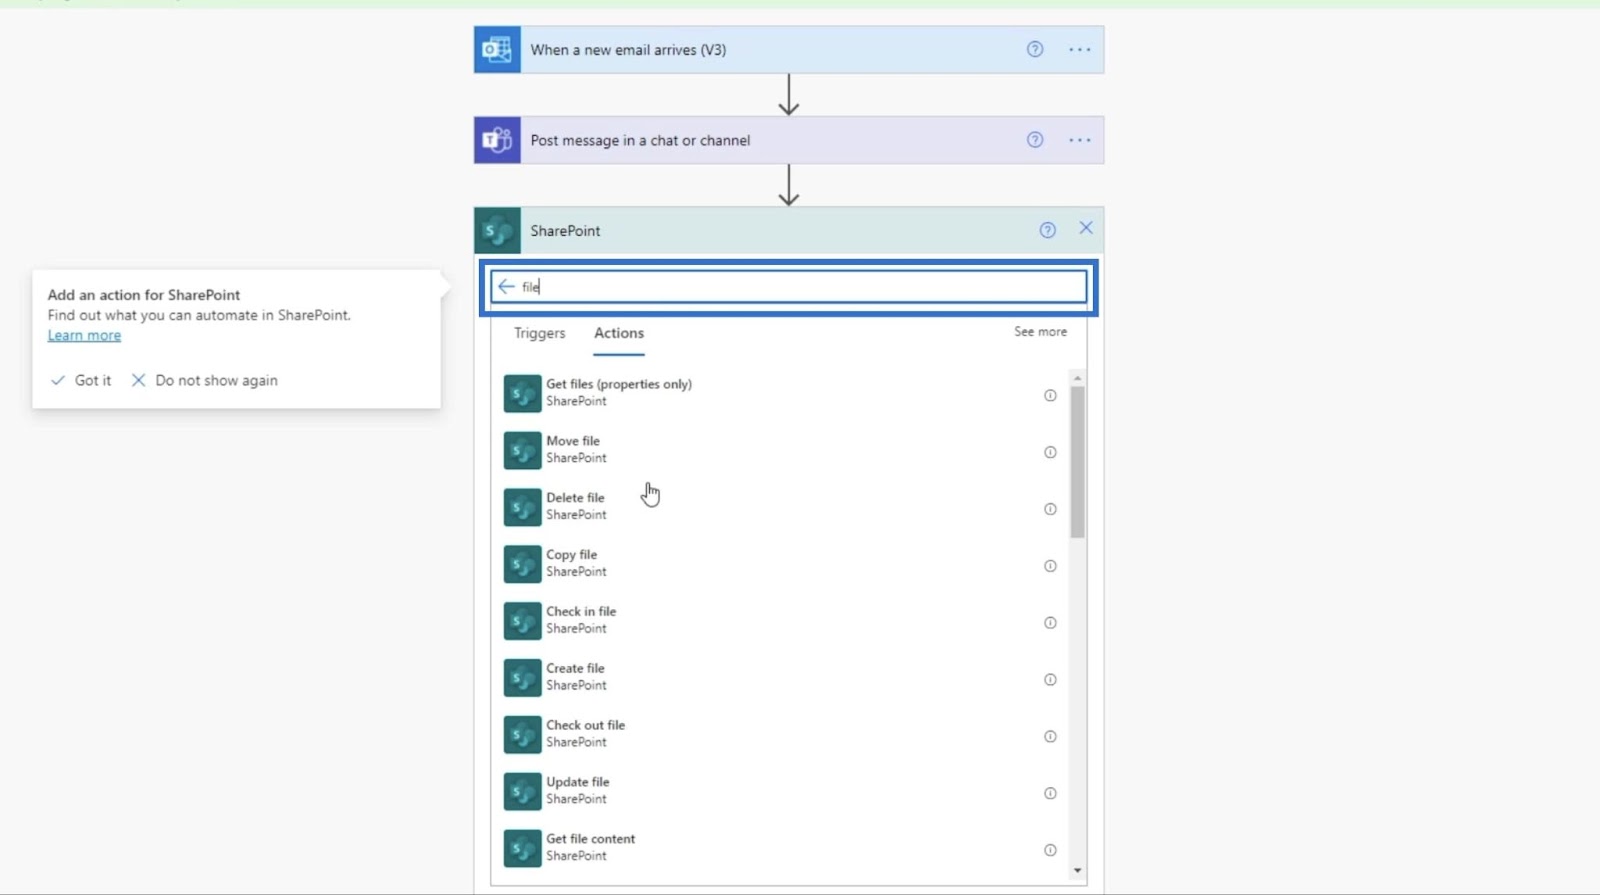
Then click Create file.
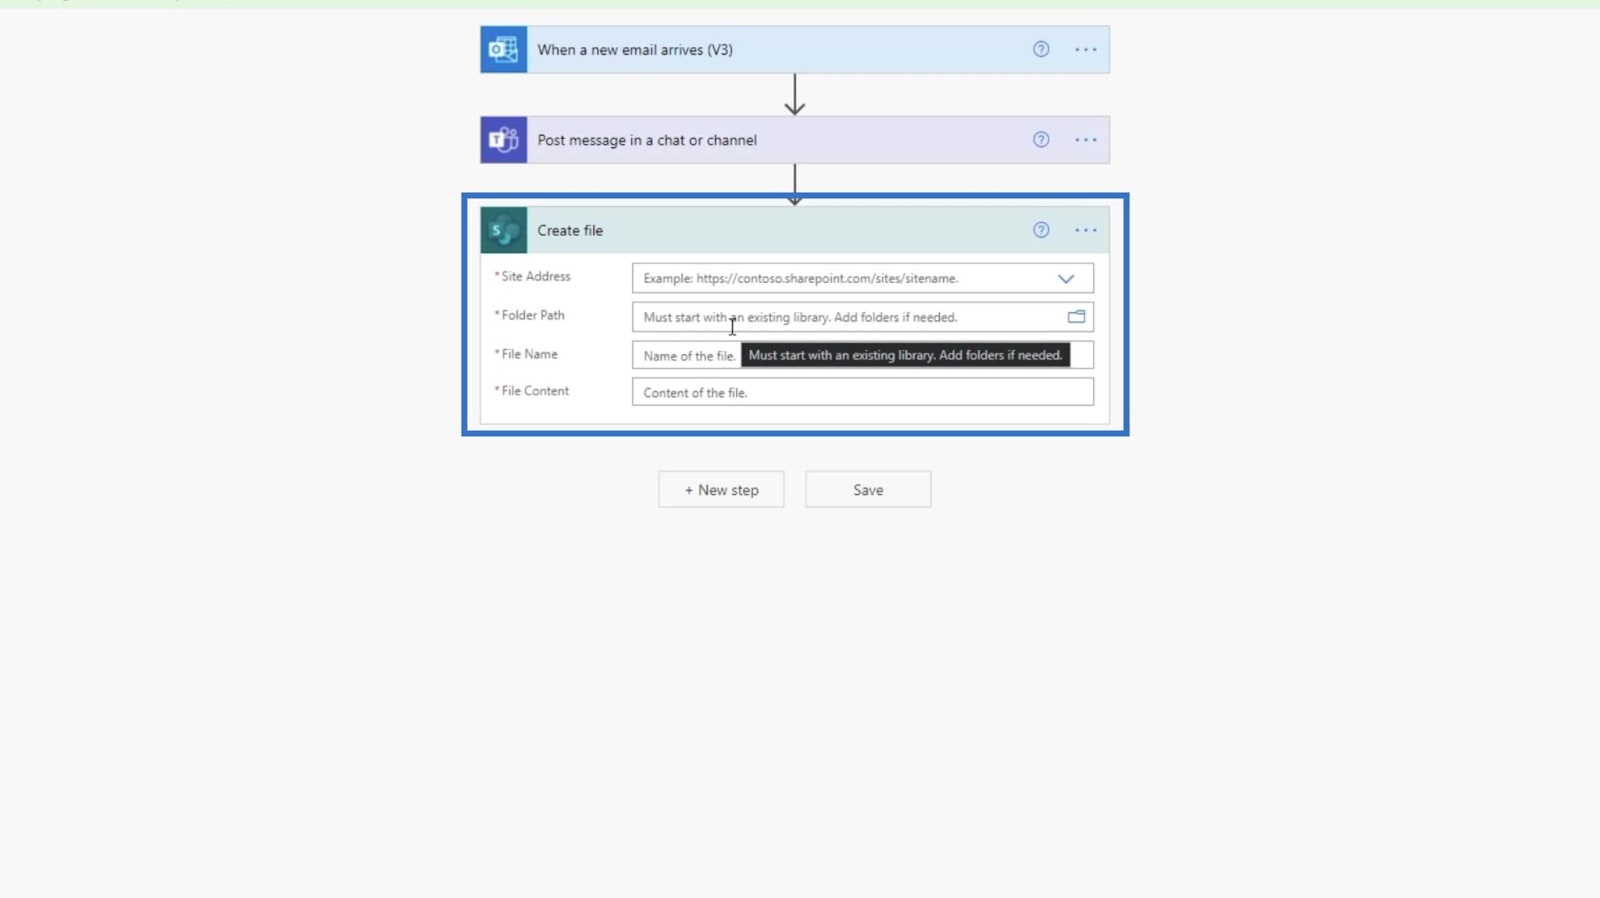
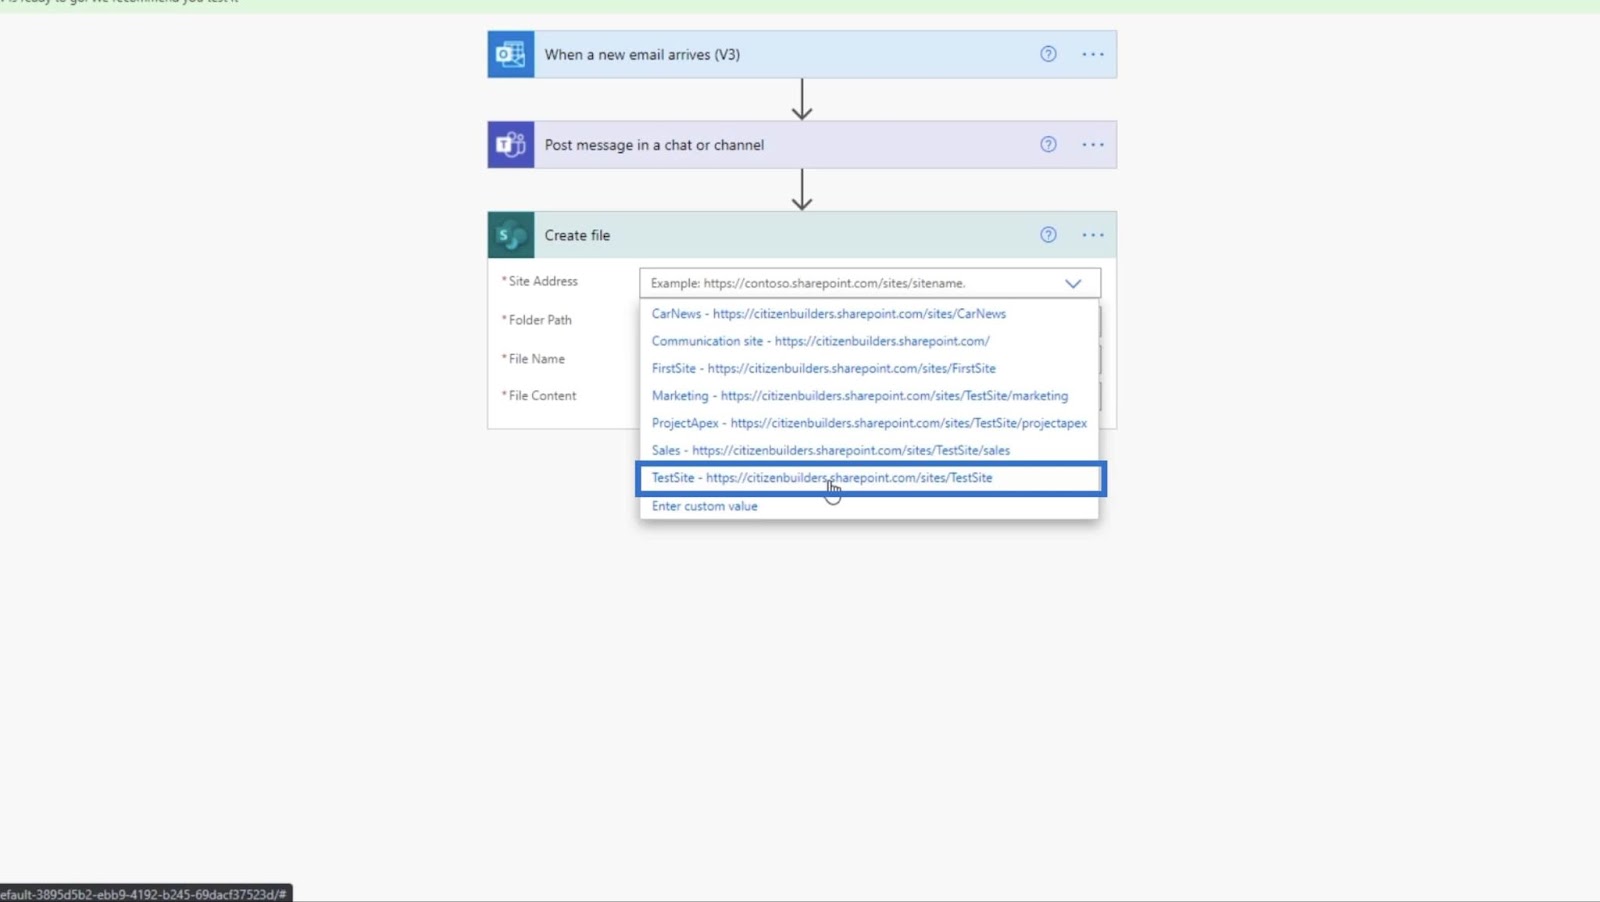
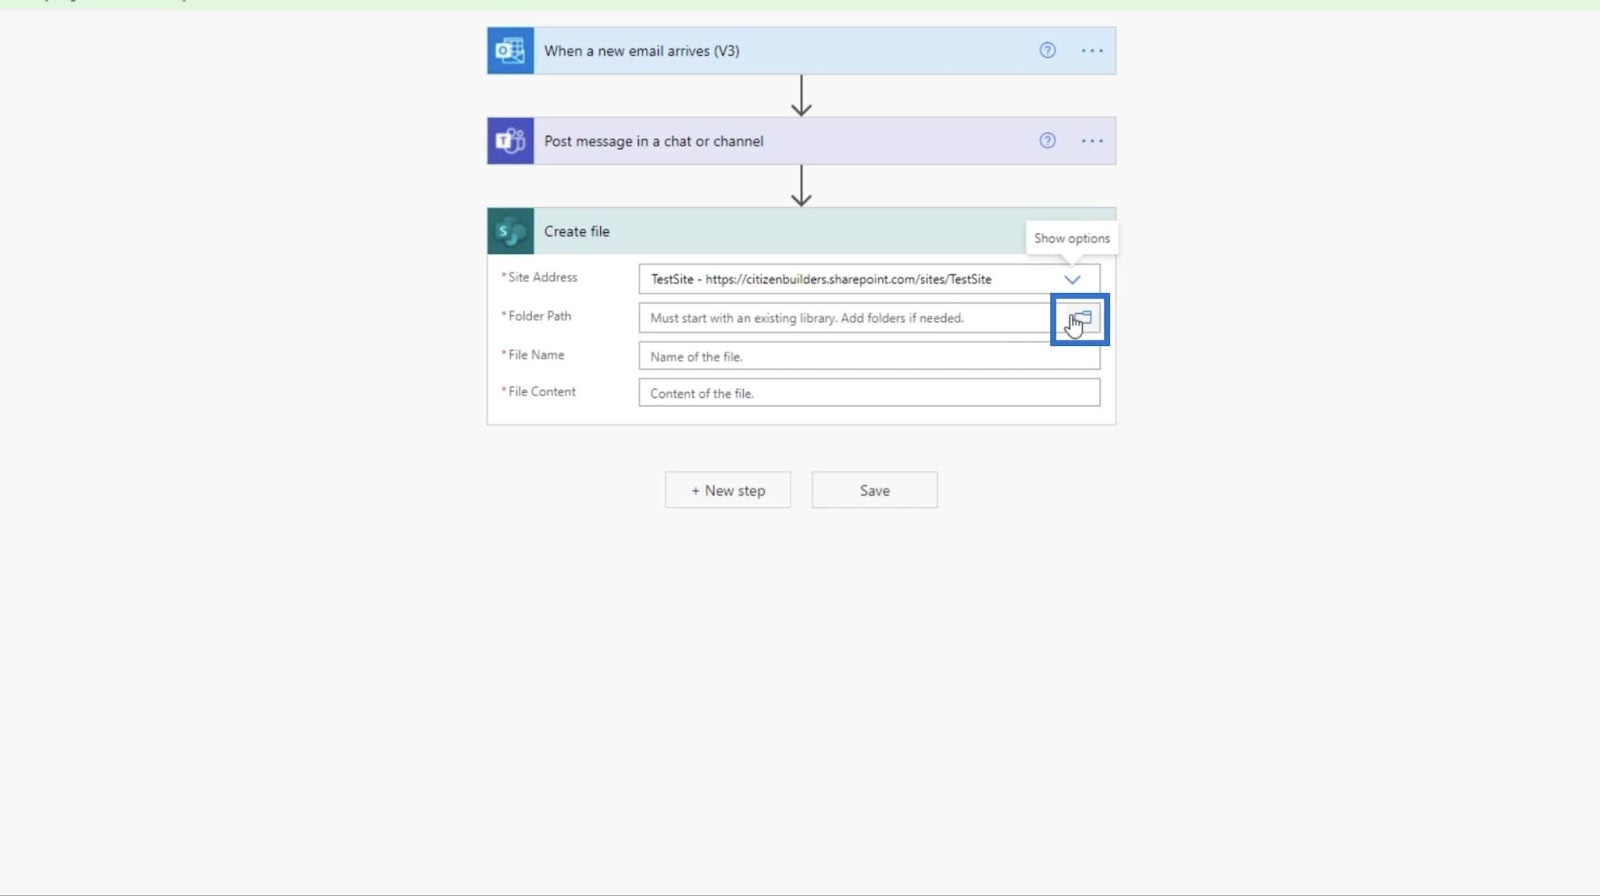
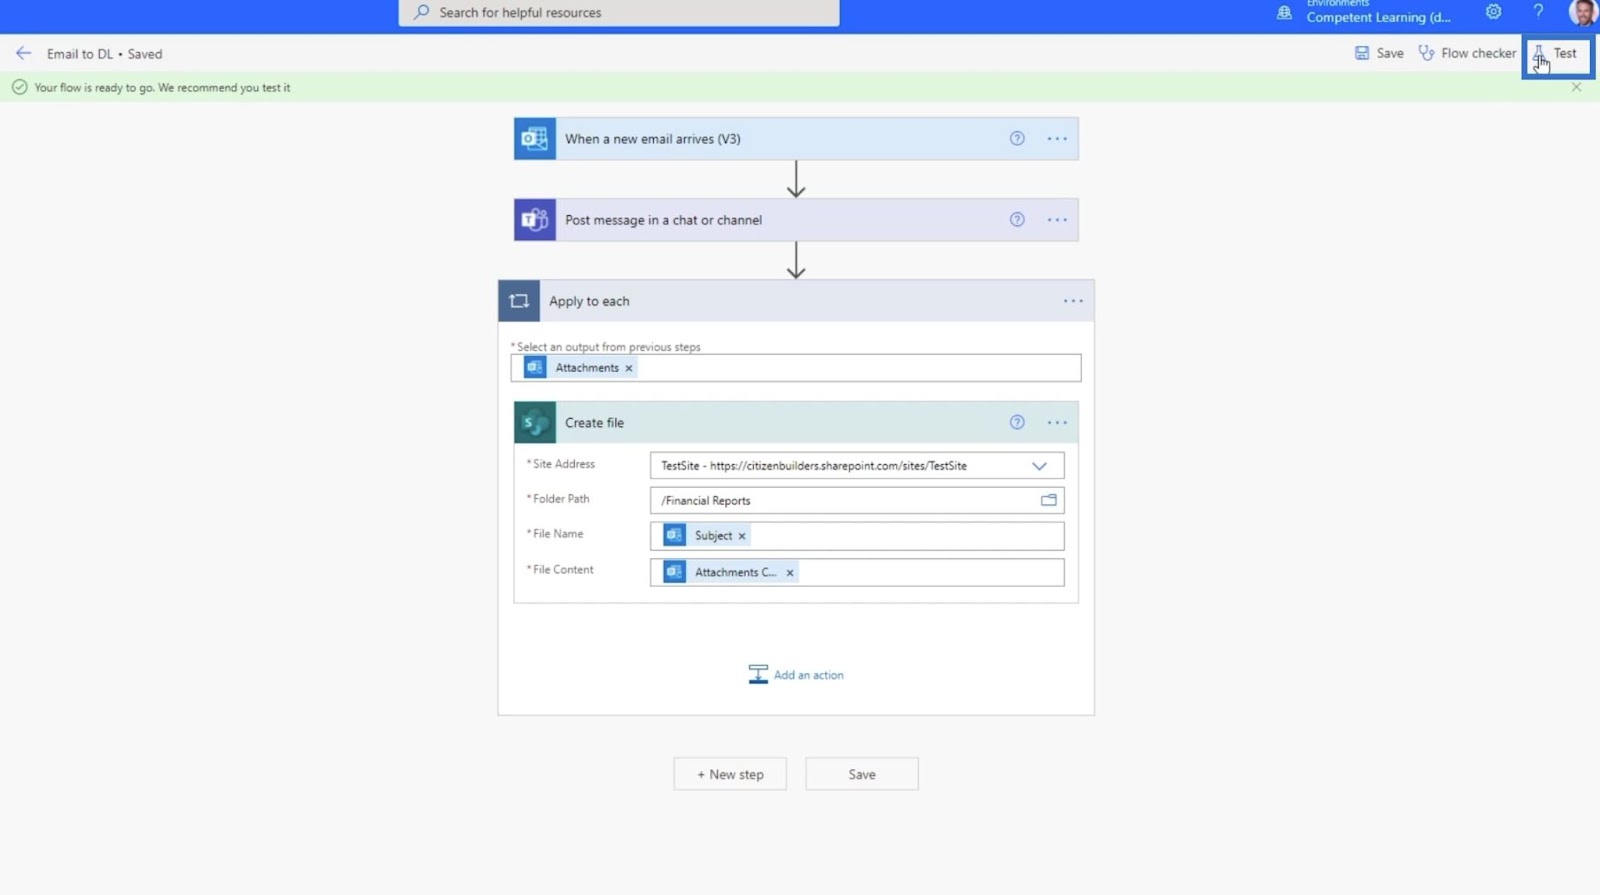
To create a file, we need to specify the Site Address and the Folder Path.
The Site Address is the TestSite. If we click the drop-down menu, you’ll be able to select it.
Click the folder icon for the Folder Path.
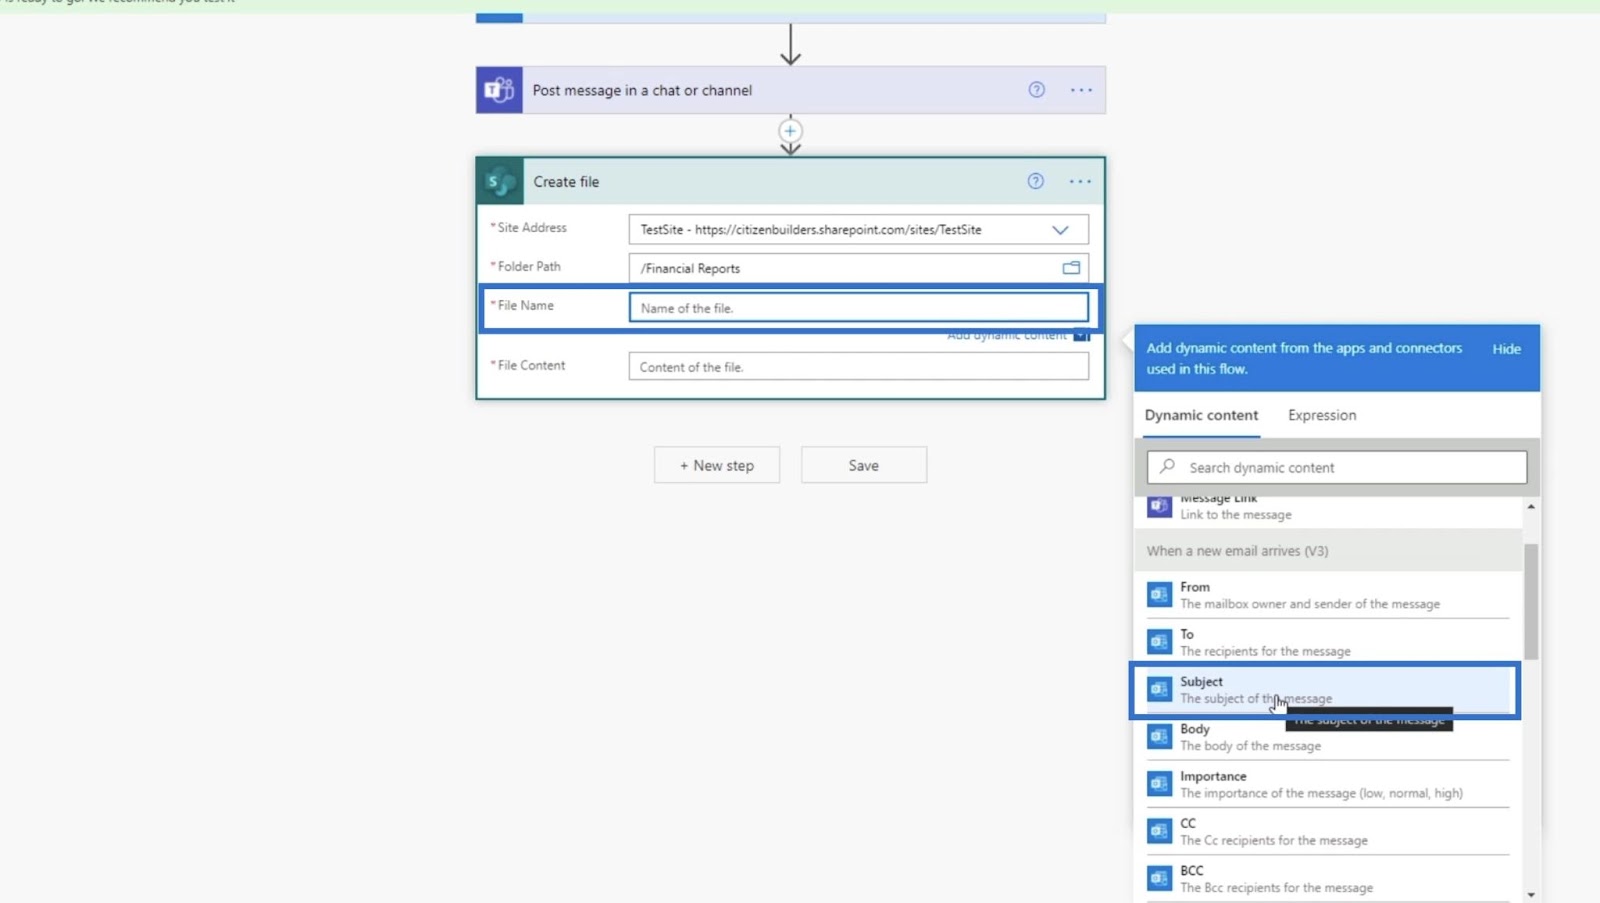
Then, choose Financial Reports from the text box.

Next, we’ll set the File Name. We can set it in different ways, but for this example, we’ll set it to Subject. This means the File Name will have the same name as the Subject.
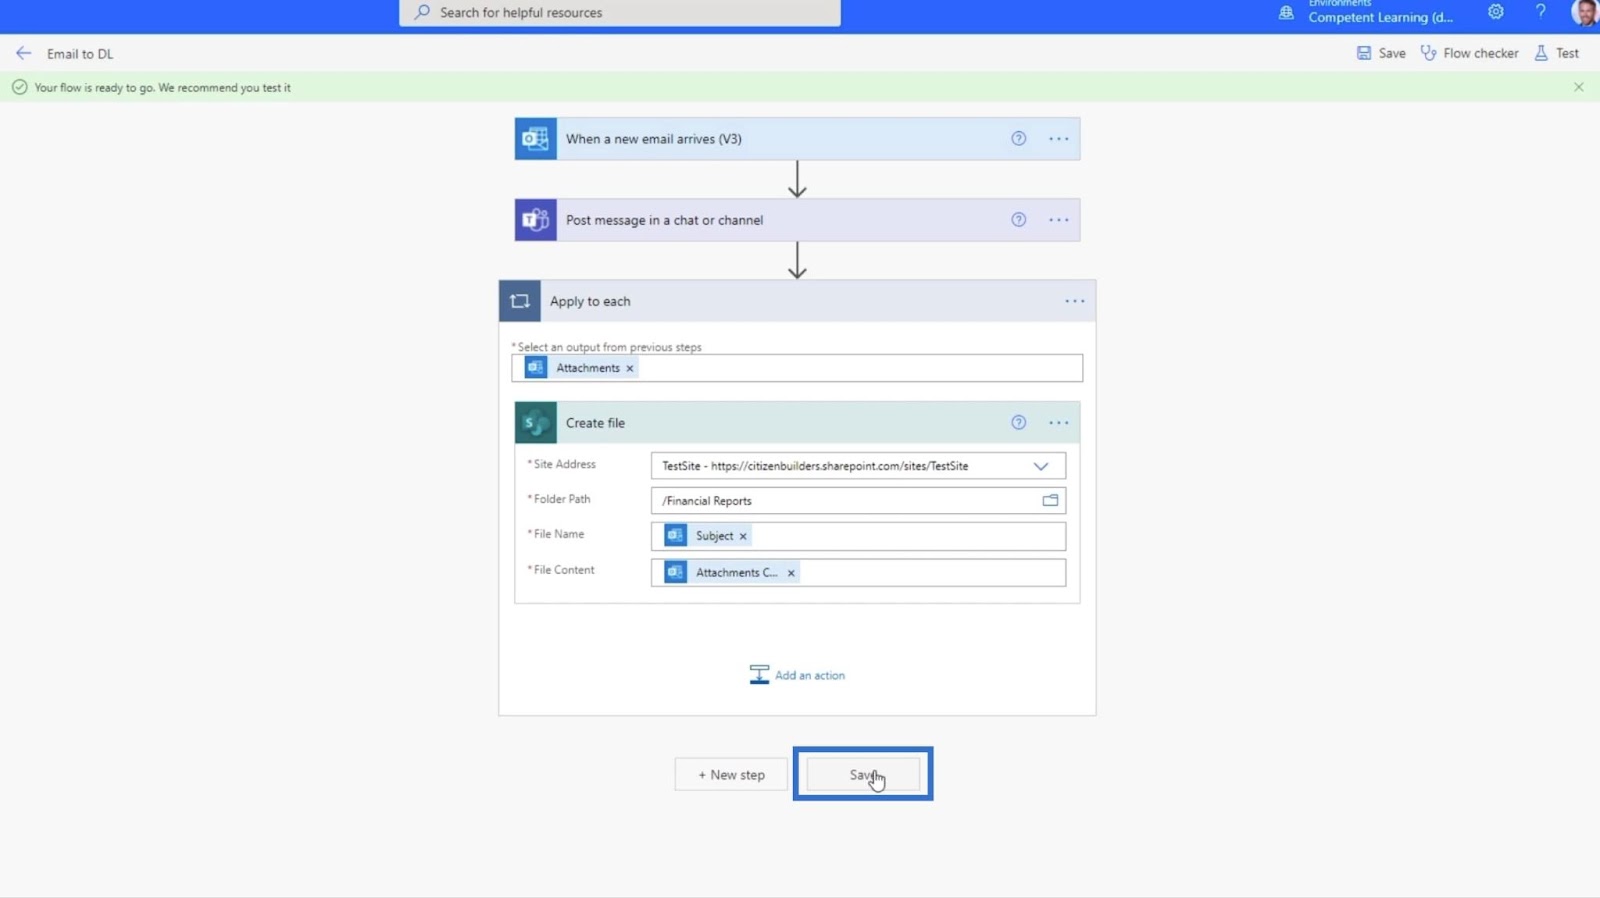
Then, the File Content should be set to Attachment Content.
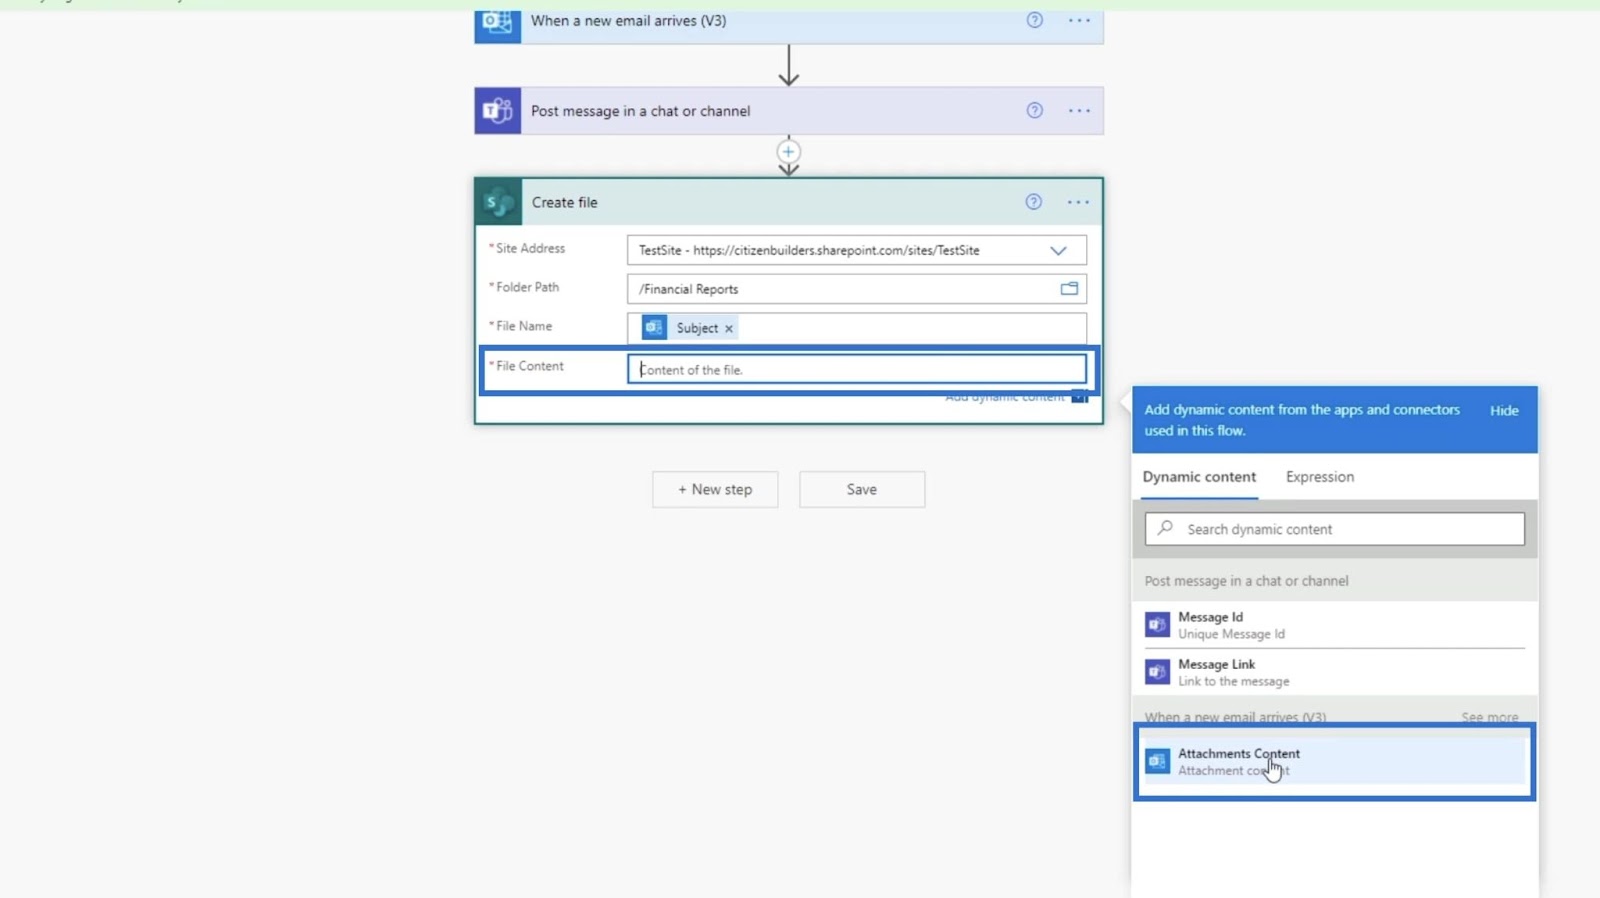
Finally, click Save.
Testing The Automated MS Flow
To test the flow, let’s click Test on the top right.
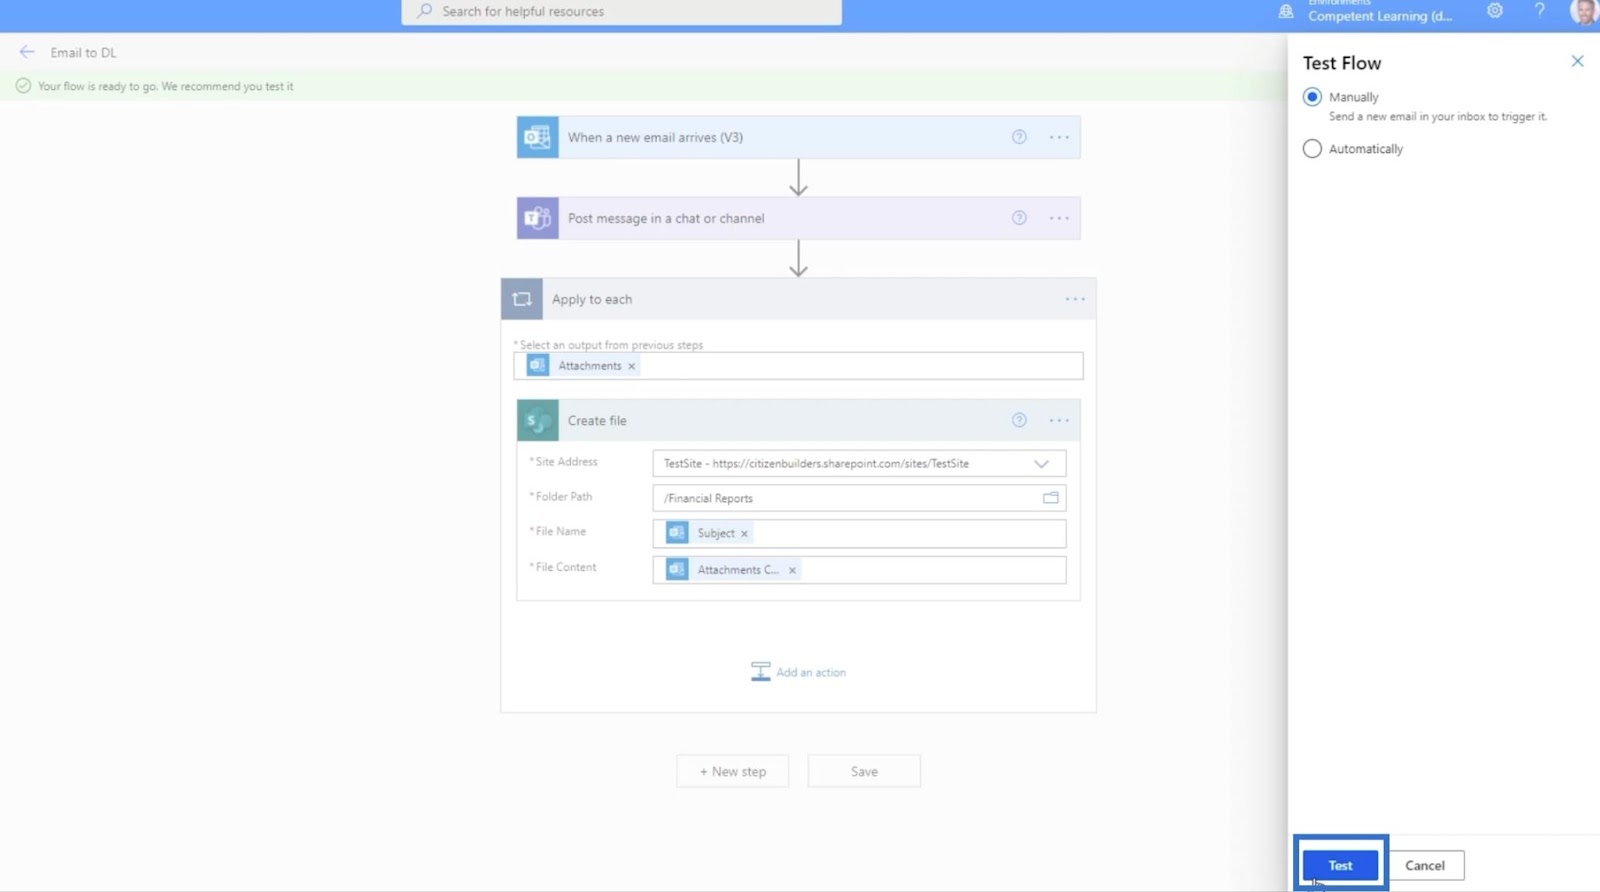
Then, click Manually.
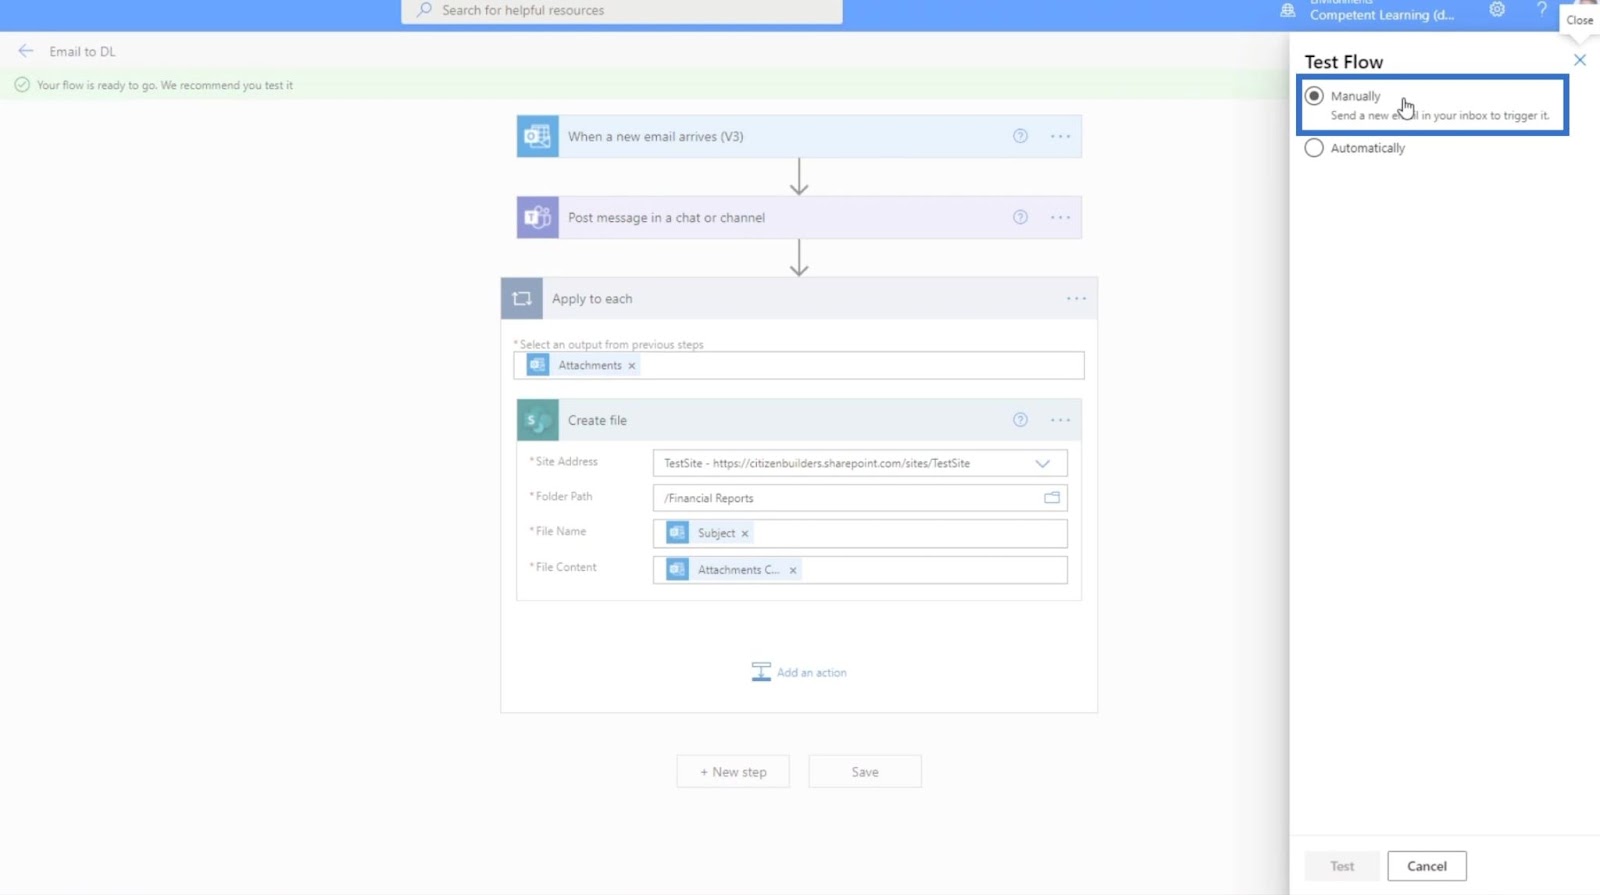
Next, click the Test button.
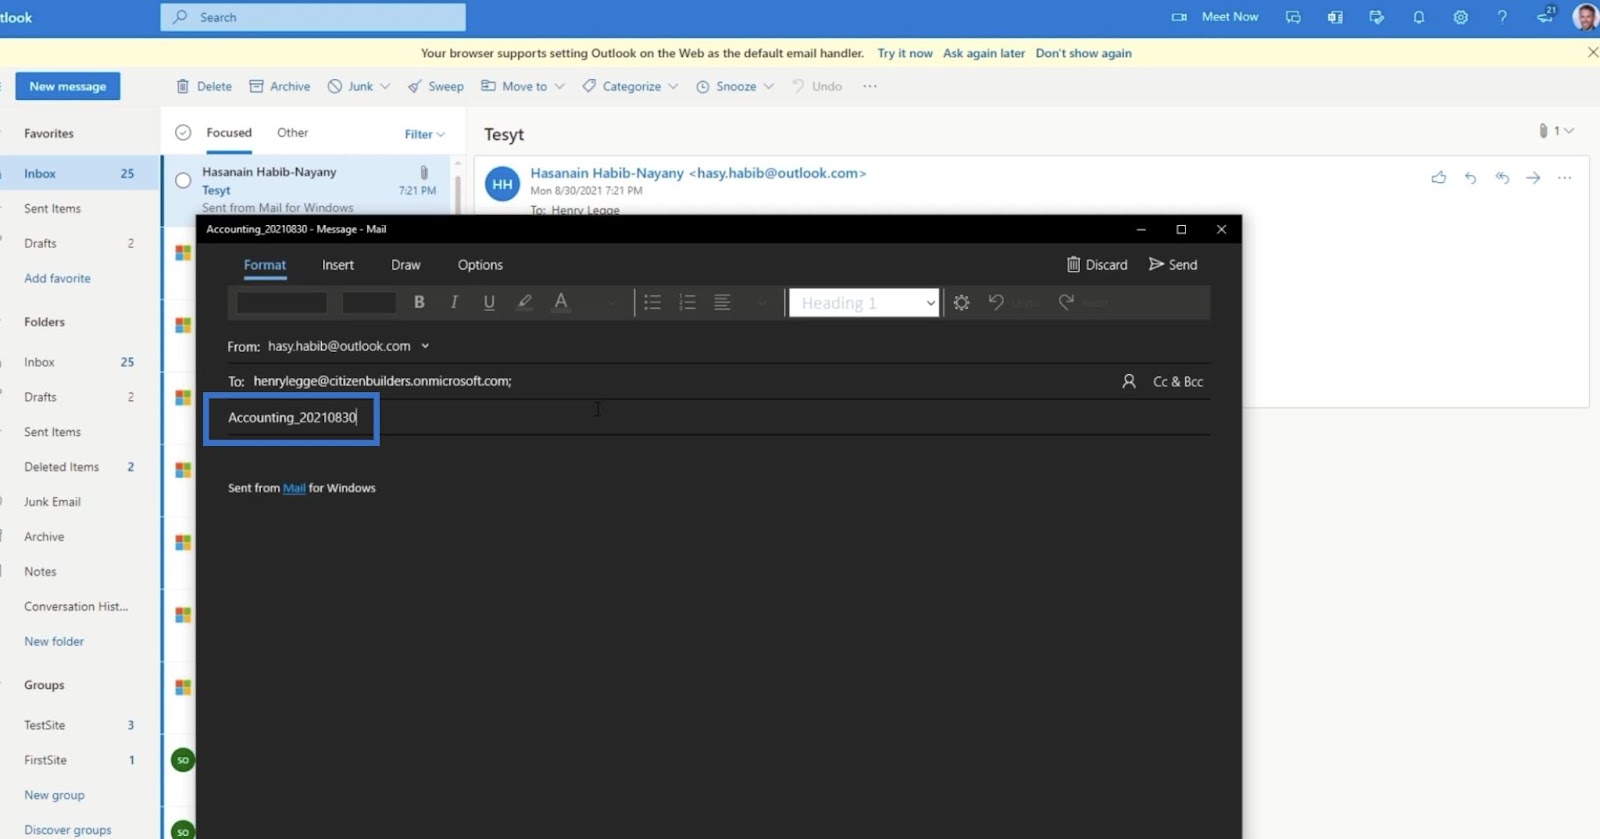
After this, we’ll send an email to this address using another email address. In this example, we’ll send it to Henry, so we’ll type “[email protected]”.
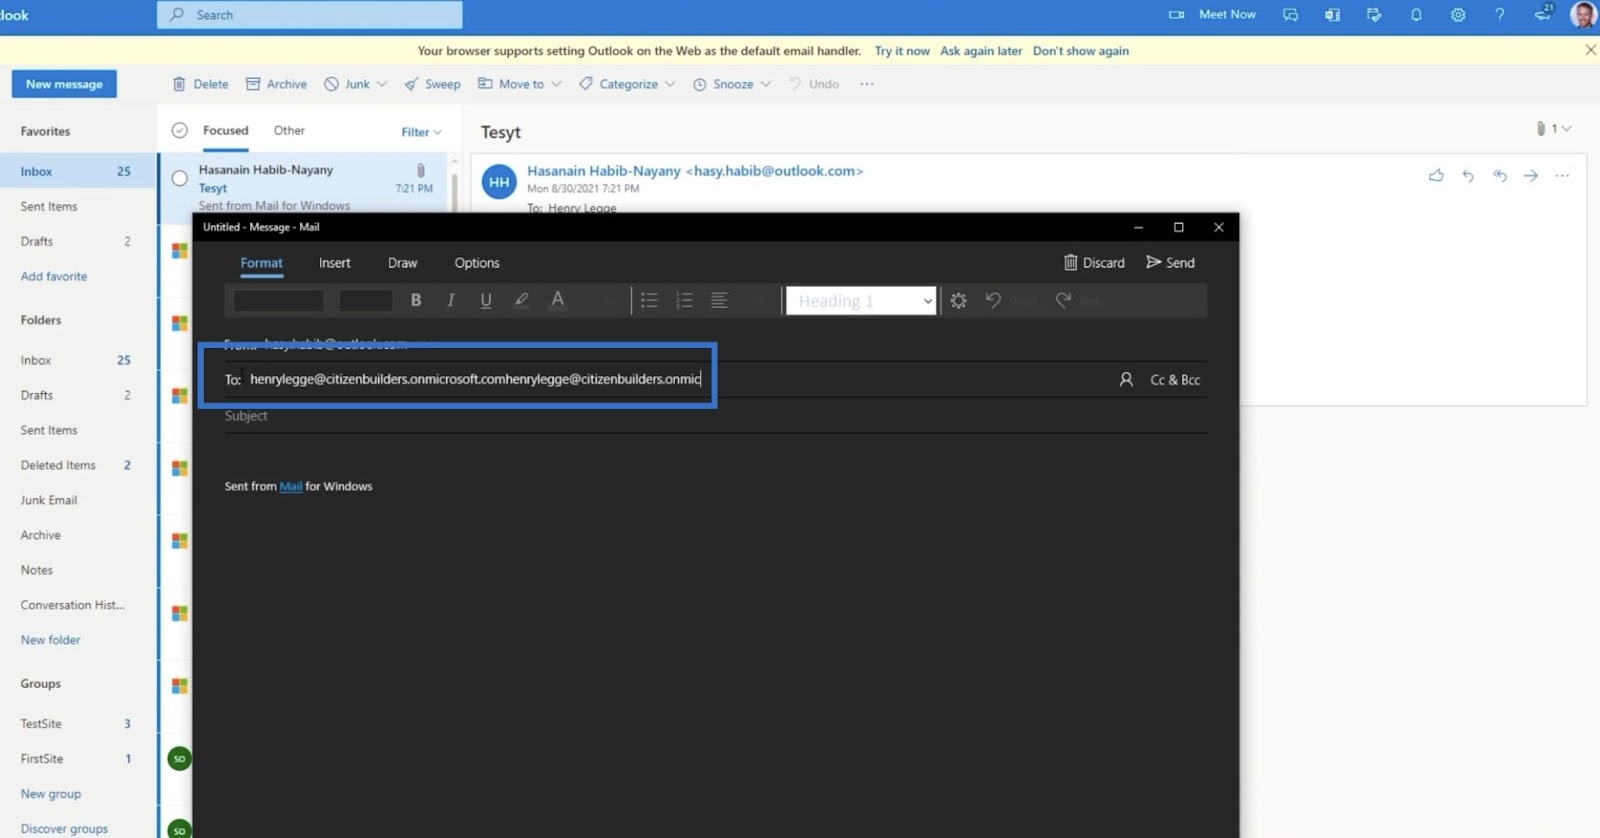
The subject will be “Accounting_20210930”.
Next, we need to attach a file. On this mailing app, we’ll click Insert.
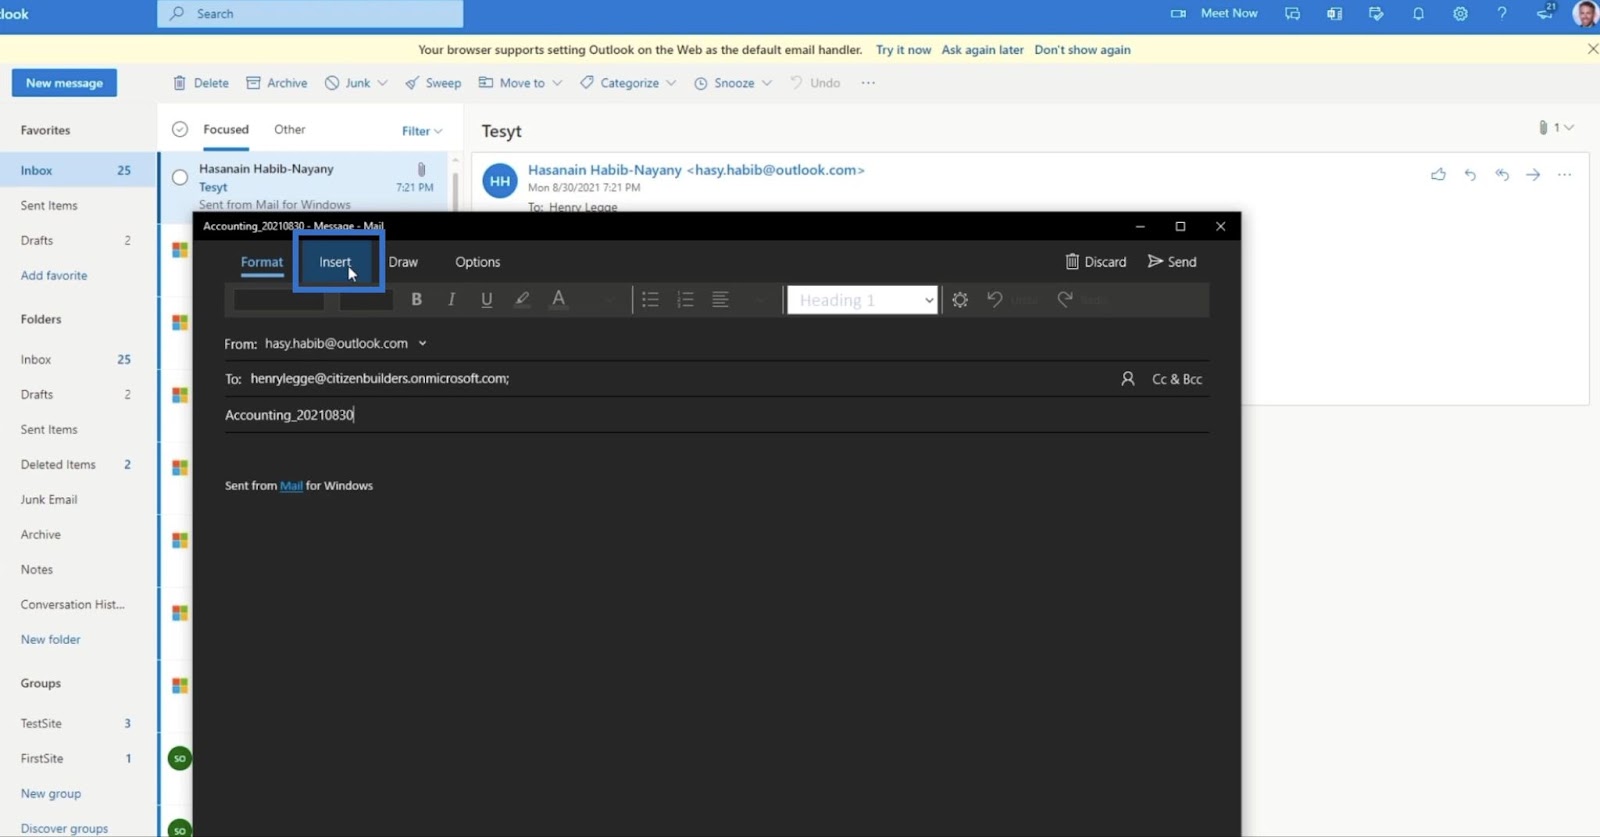
Then click Files.

We’ll attach a random file. For this example, we’ll use “Food Menu”.
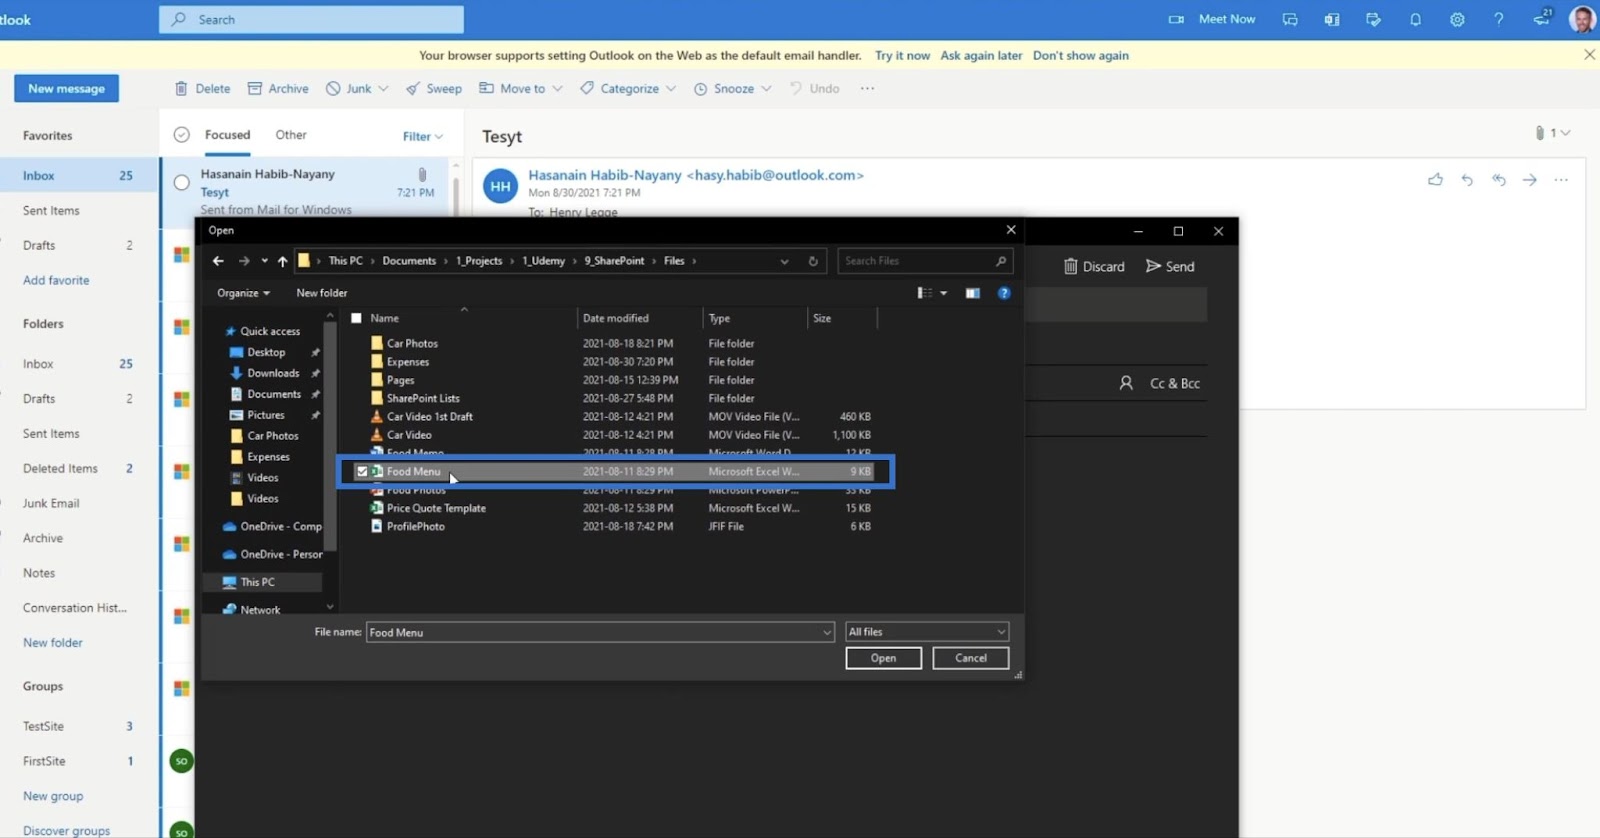
Then click Send.

As a result, we should receive the email.

If we go back to our flow, we’ll be able to see each step of the process.
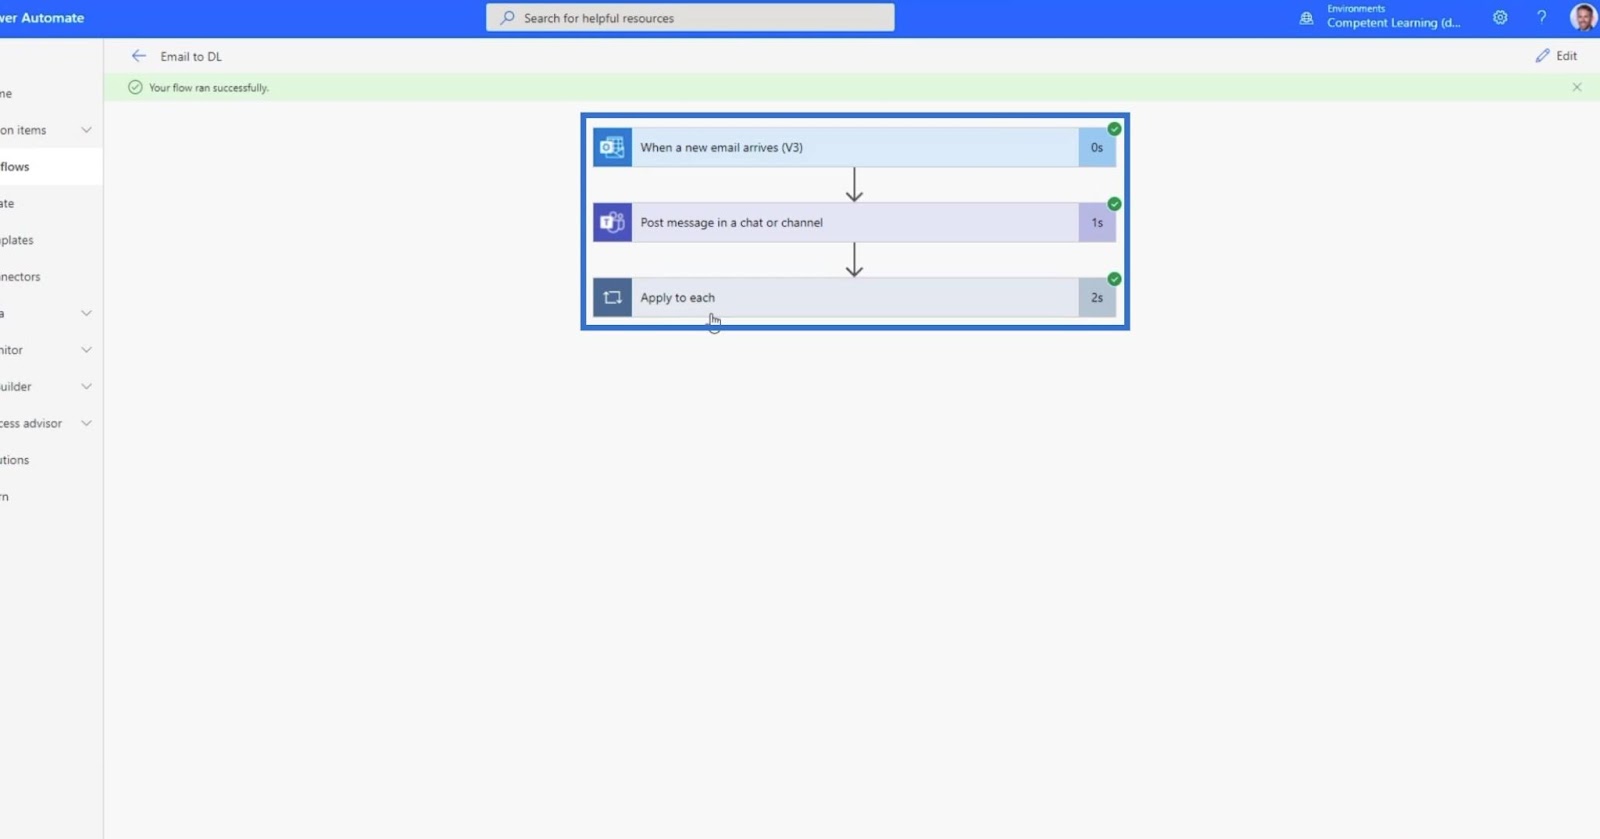
Since we automated a message when a new file is added, we’ll receive a notification on our MS Teams.
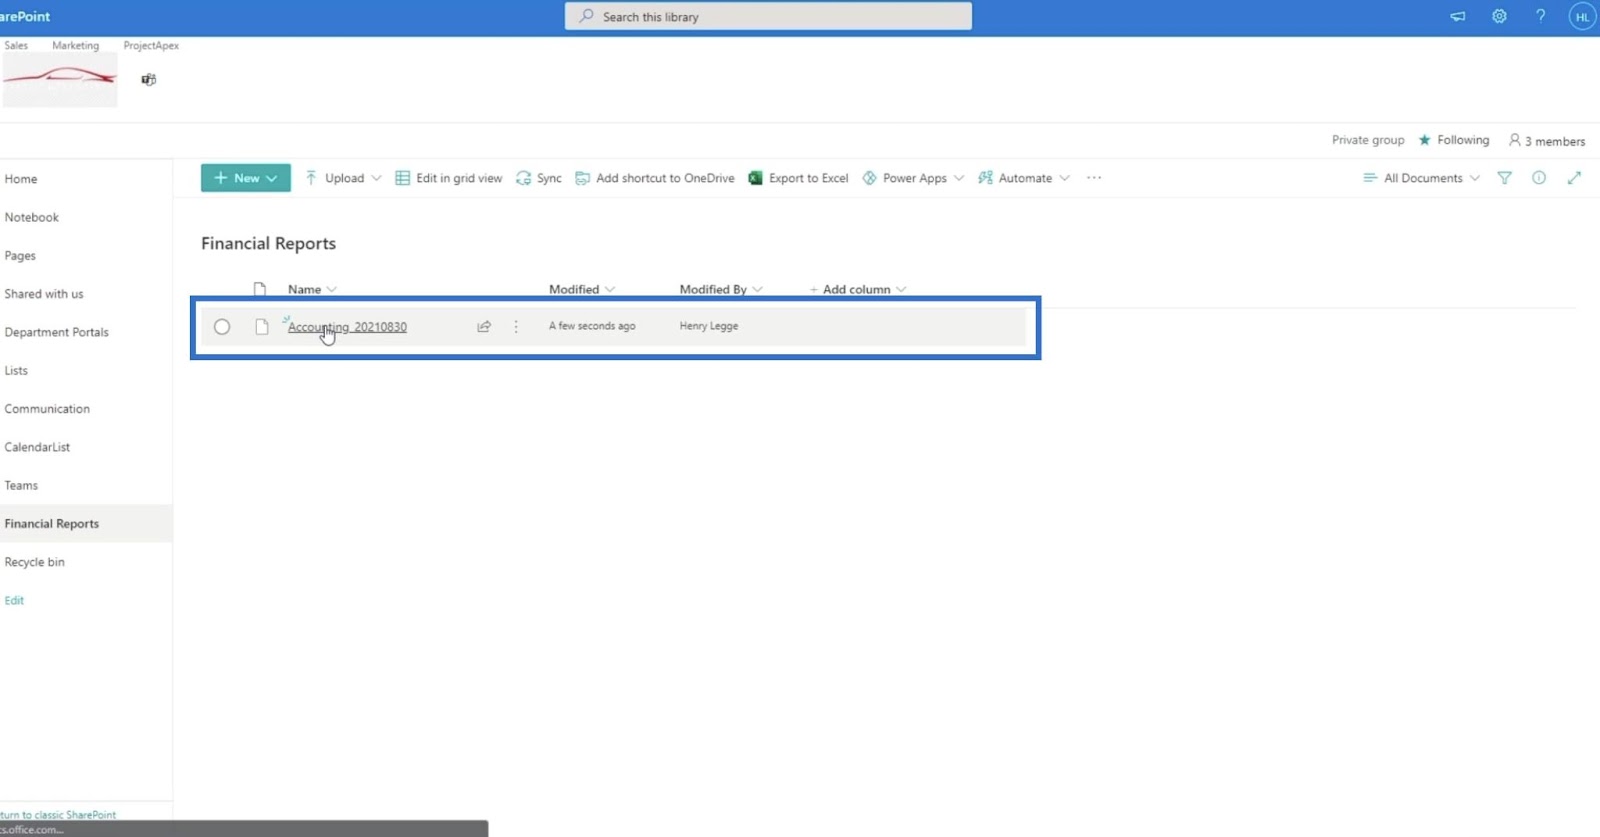
And if we go back to the Financial Reports document library, we’ll see a file with the same name as the subject of our previous email.
***** Related Links *****
How To Use Power Automate To Refresh Data In Power BI
Automated Flow In Microsoft Power Automate
Microsoft Flows: Editing And Tracking In Power Automate
Conclusion
To conclude, we’ve successfully created an MS flow for uploading files in SharePoint, which we did by sending the files through email. We also learned how to set up the proper triggers and actions for this specific flow. We tested and monitored the flow, then got the expected results.
This flow is different from using SharePoint Automate because we set the email being received as the trigger, and the action is a file attachment being added to your document library. This is an excellent way to utilize and integrate Power Automate flows within SharePoint.
All the best,
Henry Habib
Be the first to comment